Launching Virtual Machines
This tutorial is part of the Cloud Starter Series.
Back to Cloud StarterCategory: Beginner
Difficulty: 1 out of 5
Duration: 25 minutes
1. Overview
2. Starting the Launch Dialog
3. Details, Source and Flavor
4. Networks, Security Groups and Key Pair
5. Launch Instance
6. Next Steps
Find a mistake? Let us know the issue here.

Starting the Launch Dialog
In this tutorial we will use the Launch Dialog and configure the most basic Virtual Machine possible.
- Logon to your Nectar Dashboard and ensure you’re working in the right project (Use the project selector on the top left-hand side)
- Navigate to the
Project/Compute/Instancespage - Click the
Launch Instancebutton to start the Launch Dialog

Launching From the Images page
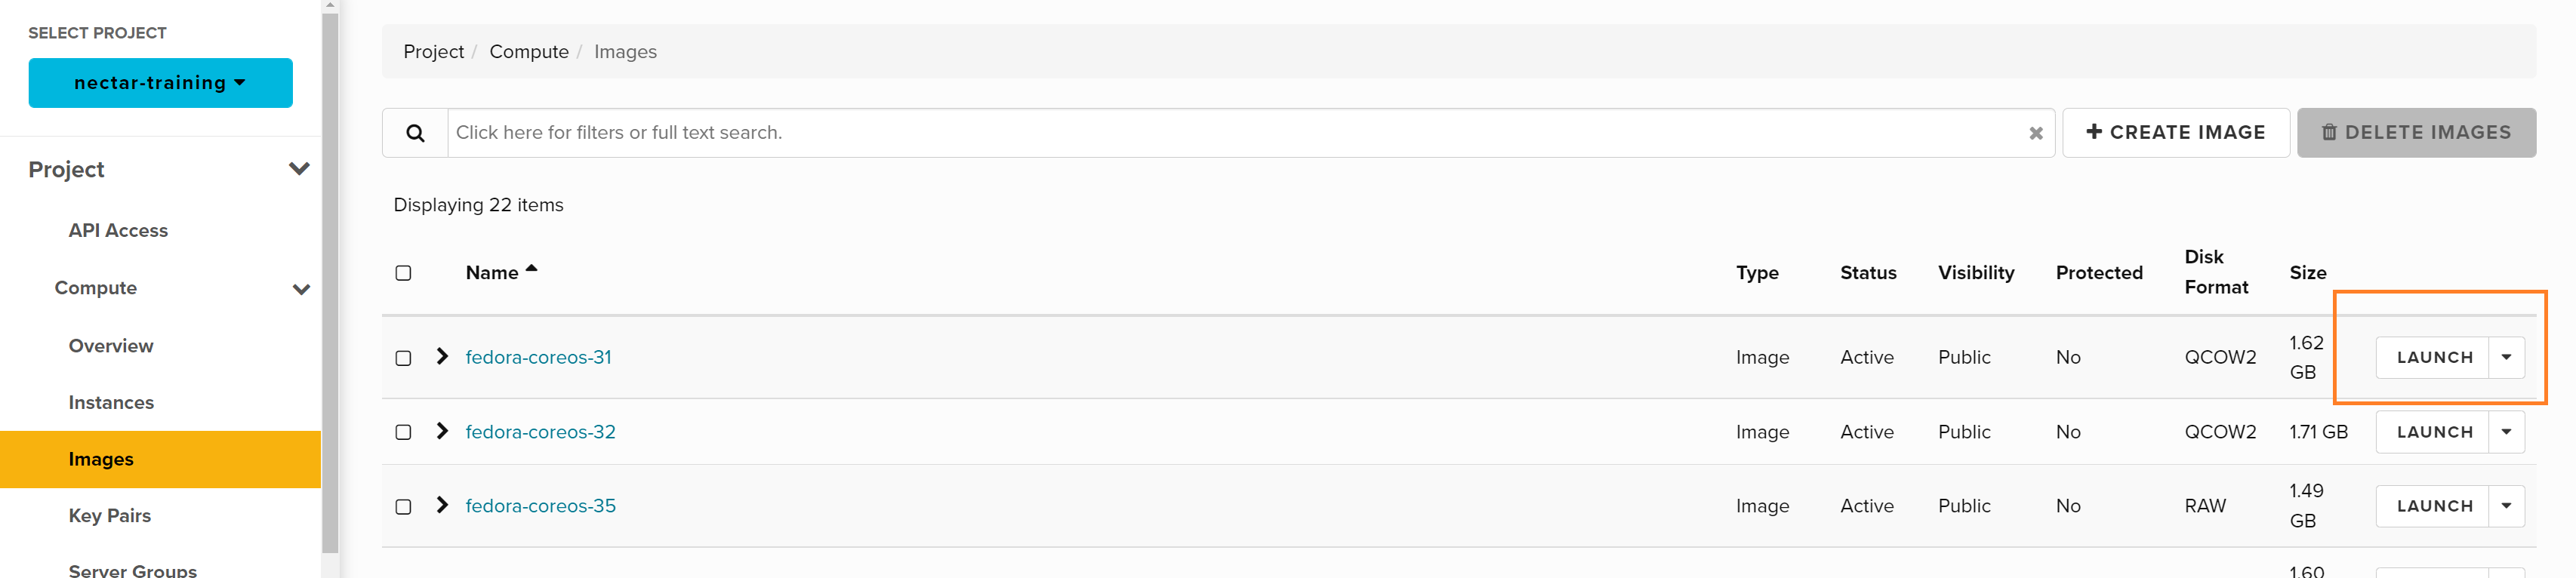
- Alternatively you can navigate to the
Project/Compute/Imagespage, find an Image, and Click Launch on the Image’s Action Menu Button
The Launch Dialog will guide you through the steps to launch an instance.