Advanced Networking
Category: Advanced
Difficulty: 5 out of 5
Duration: 58 minutes
Find a mistake? Let us know the issue here.

Attaching a floating IP
Step 6. Attaching a floating IP to an instance:
In order for a floating IP to be attached to your instance properly, your instance needs to be part of a private network, which contains a private gateway-enabled subnet. You also need to have a router connected to an external network and your private network.
Location, Location, Location
Your instance and floating IP need to be in the same availability zone. If you do not have an existing one in the same zone, you can simply create another one. This can be checked and configured on the Project > Network > Floating I.P tab.
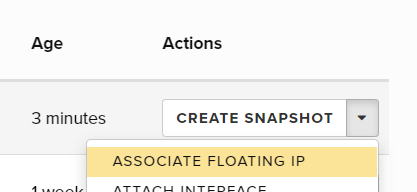
Step 6a. From the instance Actions menu click Associate Floating IP:
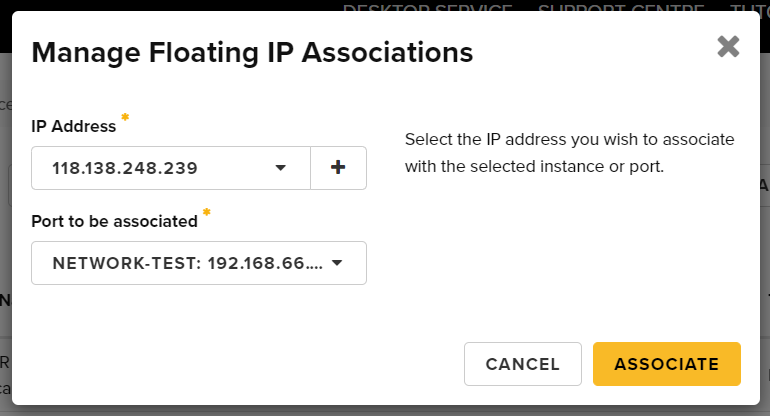
Step 6b. Select a floating IP address from the list and ensure your instance port is selected in the “Port to be associated” field. If you see “No floating IP addresses allocated”, click the + (plus) icon, which will take you to a new window where you can allocate a floating IP address from a pool belonging to an Availability Zone. This is an extra step required to complete after floating IP quota is granted. Please allocate a floating IP from the same Availability Zone as your instance. When finished, click Associate:
If you are using the OpenStack CLI, you can use the following commands to achieve identical results:
neutron floatingip-list #get a list of floating IP's allocated

+--------------------------------------+------------------+---------------------+--------------------------------------+
| id                                   | fixed_ip_address | floating_ip_address | port_id                              |
+--------------------------------------+------------------+---------------------+--------------------------------------+
| 796ae38f-d292-4c5a-93b1-24bb4bbf2955 |                  | 203.100.30.43       |                                      |
+--------------------------------------+------------------+---------------------+--------------------------------------+

nova interface-list cd576d51-8a13-49b9-9c13-88a0d57270f3 #get the port ID of the private network port so that we can attach the floating IP to that port

+------------+--------------------------------------+--------------------------------------+--------------+-------------------+
| Port State | Port ID                              | Net ID                               | IP addresses | MAC Addr          |
+------------+--------------------------------------+--------------------------------------+--------------+-------------------+
| DOWN       | b9b2ab60-d7b0-4dc2-a5fe-fb41e29f2545 | 09ff5a87-2d4a-4e57-a474-f2d2d688bb48 | 192.168.1.4  | fa:16:3e:1b:66:1d |
+------------+--------------------------------------+--------------------------------------+--------------+-------------------+

neutron floatingip-associate 796ae38f-d292-4c5a-93b1-24bb4bbf2955 b9b2ab60-d7b0-4dc2-a5fe-fb41e29f2545
Associated floating IP 796ae38f-d292-4c5a-93b1-24bb4bbf2955
Step 6c. Verify the floating IP is now present in the Dashboard (you may need to refresh the page) and try logging in to your instance: