Advanced Networking
Category: Advanced
Difficulty: 5 out of 5
Duration: 58 minutes
Find a mistake? Let us know the issue here.

Create a Router
Step 3. Create a Router:
Advanced Networking supports the creation of virtual routers that enable network traffic to be directed outside of the private network. Routers can be attached to an external network. When attached to an external network, the router can provide attached private networks with public internet access via SNAT. In this way, multiple VMs can use the same IP address to communicate with the outside world, saving precious public IP resources.
A router is required for the OpenStack metadata service (169.254.169.254) to function (which is used to inject public keys into instances). Without a functioning metadata service, the instance cannot determine its own hostname, ssh public keys etc.
When you create a router, the DHCP service starts advertising a default route to your instances when you join to the private network - this is your gateway to the Internet (provided you join your router to an external network), or it can be a router to direct traffic to and from other subnets you create inside your private network. Similarly if you use Classic Networking, a default route to the Classic Networking router is advertised to your instance. The Classic Networking router is already configured by Nectar Administrators and users are not able to alter its behavior. It is not a good idea to mix Classic Networking and Advanced networking because having two default routes will break communications to the instance. If you have accidentally mixed Classic and Private networks and you are having trouble communicating with your instance, you can always remove one by detaching the appropriate interface from the instance using the Instance Actions dropdown menu, then rebooting the instance. If you are launching in QRIScloud availability zone, and require the qld-data network for communicating with RDS storage, and you want to remove Classic Networking, simply detach ONLY the public interface and reboot the instance.
Please note that creating a router and attaching it to an external network does not necessarily provide a way into the instance from the internet, only a way out. If you want to create a way into the instance, we recommend using floating IP’s (subject to quota allowance), as instructed below.
Step 3a. Select the desired project from the Nectar dashboard and navigate to the Network -> Routers tab:
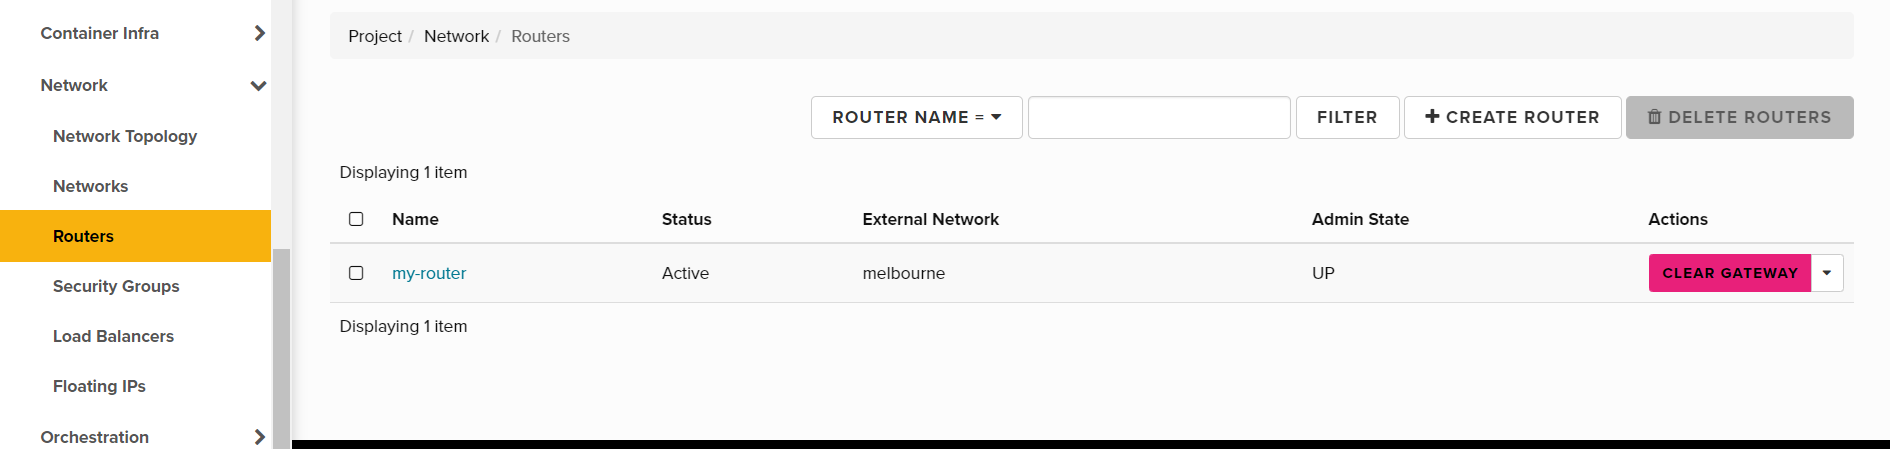
Step 3b. Click the Create Router button.
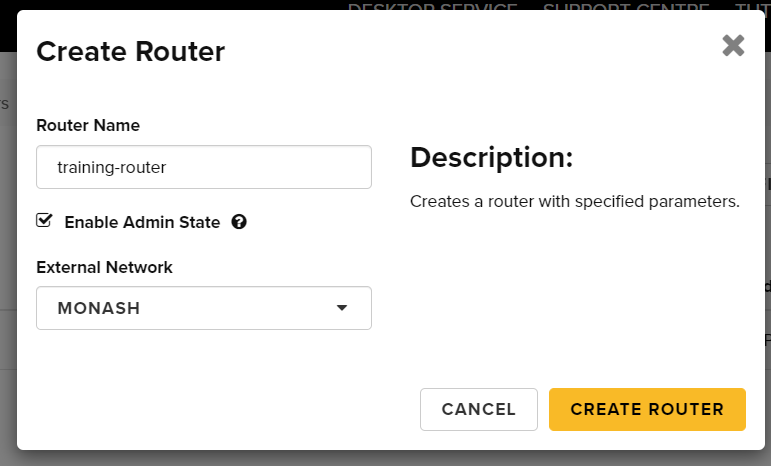
Step 3c. From the Create Router window enter the name of your router. Select an external network local to your instance Availability Zone to achieve the best network performance. This will attach a publicly routed IP (not to be confused with Floating IP) to your router and allow outbound communication from any instance that joins your gateway-enabled private subnets. Once completed, click Create Router:
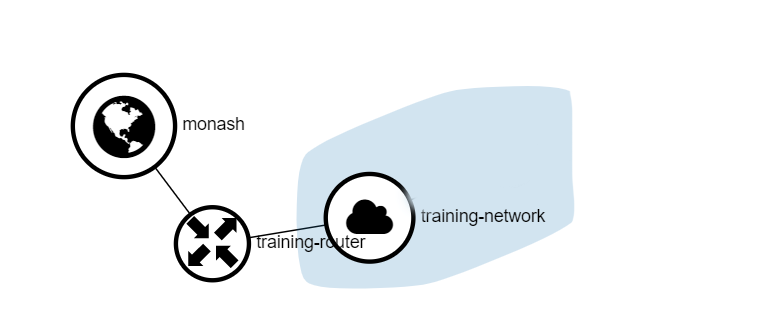
You can refer to the Network -> Network Topology tab for a visual representation:
Once the router has been created you must attach it to the private network of choice.
Step 4. Attach a Router to a Private Network:
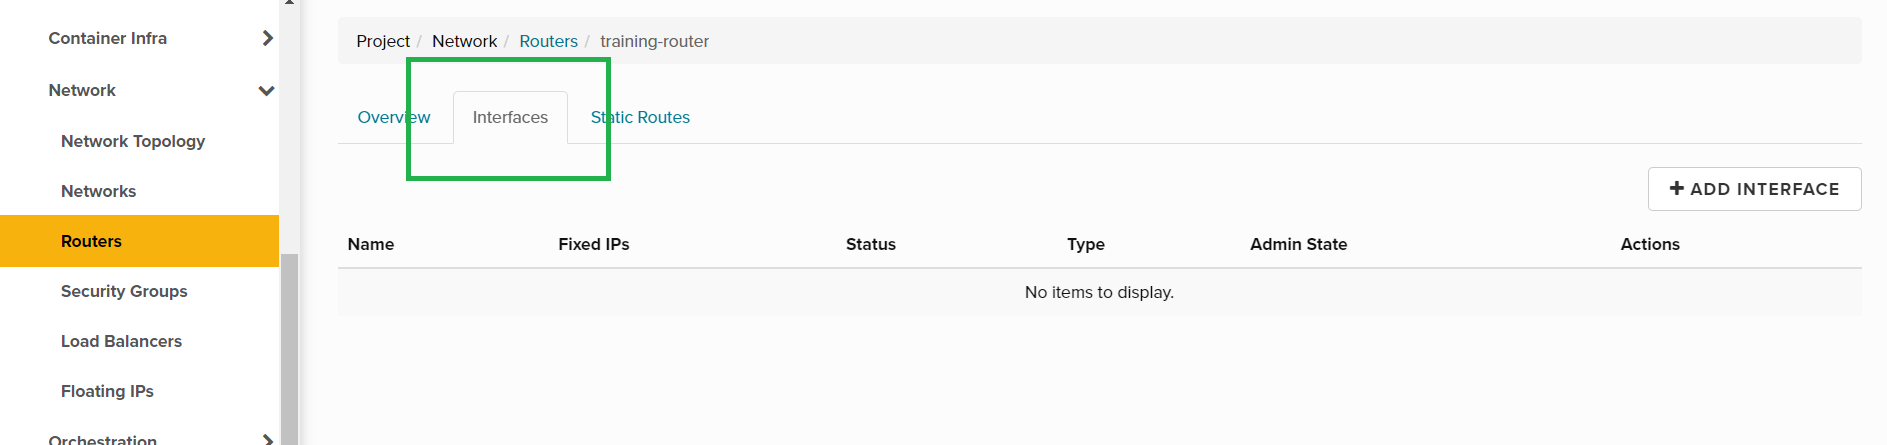
Step 4a. From the Routers menu, click the name of your router, then select the Interfaces tab.
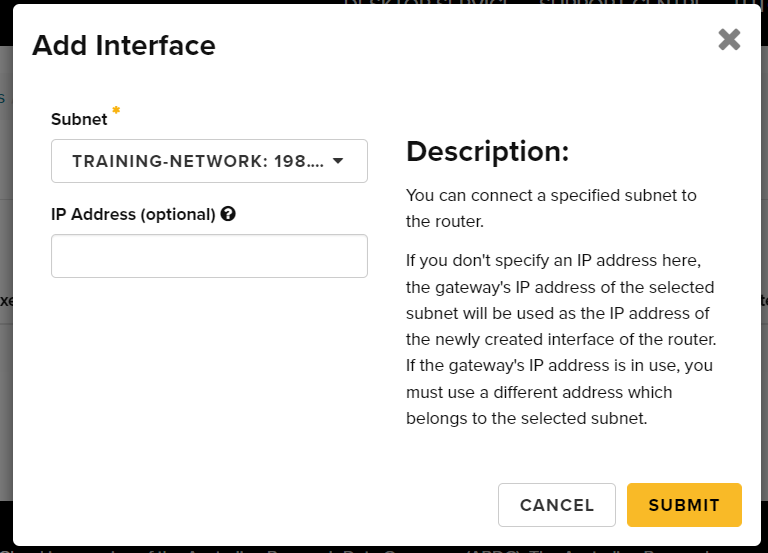
Step 4b. From within the Interfaces tab click Add interface:
Step 4c. From the Add Interface window, select the Subnet you created earlier from the drop down box. Ensure you set the IP Address (optional) to the IP address you specified in Creating a Private Network, Step 4, Gateway IP. Once completed, click Add interface:
You can refer to the Network -> Network Topology tab for a visual representation:

Once the interface has been successfully created you can begin to attach a compute instance to the network.