Database
This tutorial is part of the Cloud Expert Series.
Back to Cloud ExpertCategory: Advanced
Difficulty: 4 out of 5
Duration: 91 minutes
Find a mistake? Let us know the issue here.

Backup and Restore a Database Instance
In this lesson, we will learn how to backup a Database Instance, and then restore it.
Note
The Database backups are saved to Nectar’s Object Storage Service, so you will need sufficient Object Storage quota to cover all of the backups that you intend to keep.
Create a Database Backup
- Navigate to the
Project/Database/Instancespage
- Find the database instance
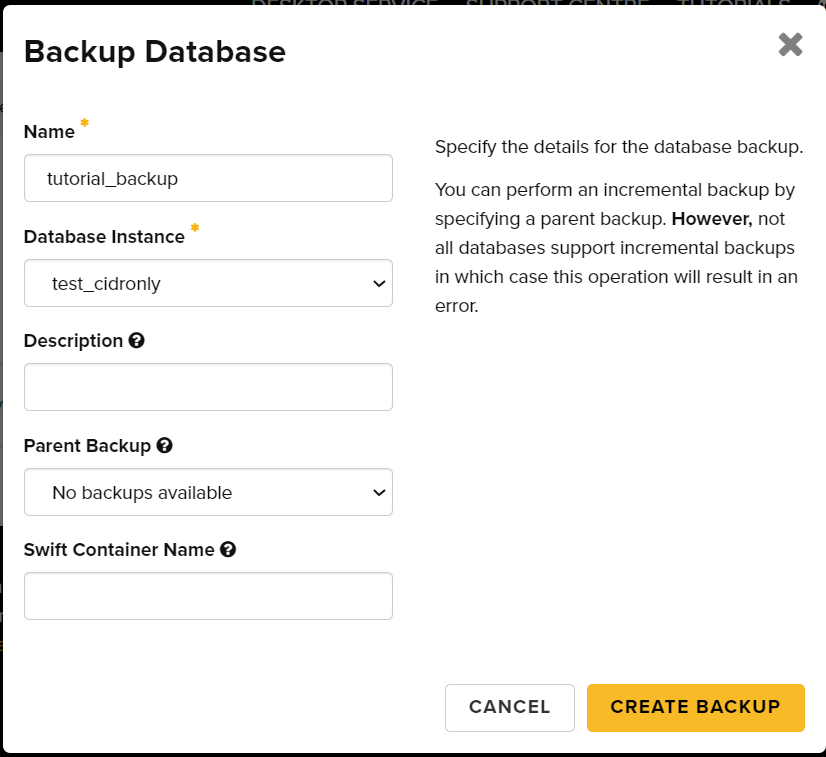
tutorialand click theCreate Backupbutton to start theBackup DatabaseDialog. - Enter tutorial_backup in
Namefield and select tutorial inDatabase Instancedropdown list.
- Click
Create Backupbutton. - Wait until the backup process is finished and you should see the database backup is listed under
Project/Database/Backups.
Restore a Database Backup
The way to restore a Backup is to create a new Database Instance with the Backup as its initial state. You can do this by following the steps for Launching a database (from the previous lesson), with one additional step:
- Navigate to the
Project/Database/Instancespage - Click the
Launch Instancebutton to start the Create Database Instance dialog. - Select the appropriate Availability Zone from drop down list, enter the
Instance Name, and select the database version from theDatastoredropdown. - Click the
Initialize Databasestab and enter theInitial Databases,Initial Admin User,PasswordandAllowed Hostfields. - Click the
Advancedtab and selectRestore from Backupas theSource for initial state. Then select the name of the Backup that you want to use from theBackup Namepulldown list. - Click the
Launchbutton. A new Database Instance will be created and populate from the Backup that you provided.
You can also initiate a Database restore by going to the Project / Database / Backups page, and running the Restore Backup action. This starts the Launch Instance dialog (as above) with many of the fields pre-propulated from the Backup’s metadata.