Applications
Category: Beginner
Difficulty: 1 out of 5
Duration: 24 minutes
Find a mistake? Let us know the issue here.

Configure the Application
Quick Deploy guides you through the steps using the Configure Application dialog for your chosen application environment.
Flavor and Key Pair
Choose your desired Instance Flavor, Key pair and the Availability Zone. Click Next to continue.

Recommended
Choosing keypair at this stage is recommended. It will enable you to access your application instance using a Terminal and SSH.
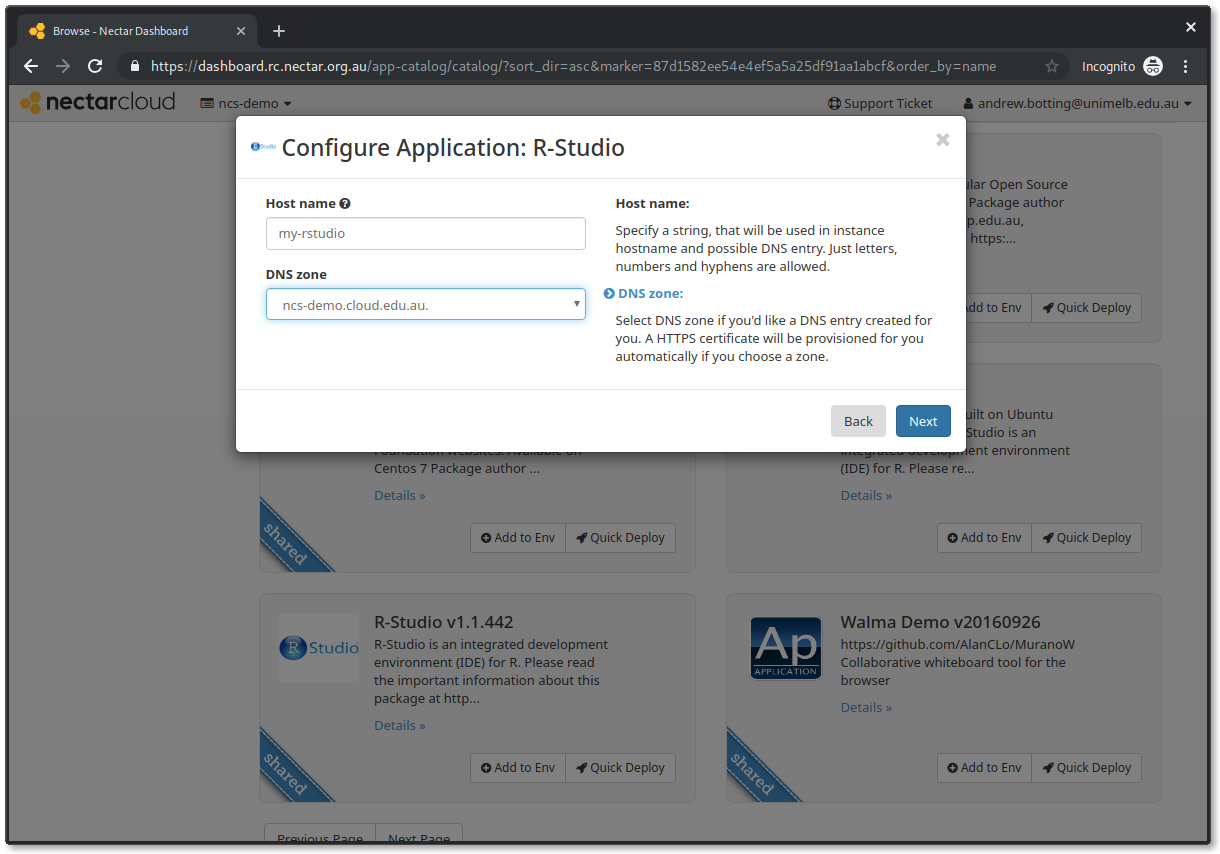
Host name and DNS Zone
You can choose an optional Host name and DNS zone name for your instance. If you choose a DNS zone at this stage, we will automatically create a DNS entry for you and provision a HTTPS security certificate for your instance.
Highly recommended
Choosing an easy Host name and associating your project’s DNS zone is highly recommended. Not only will you be able to access your R-Studio on the slick URL of https://[hostname].[project].cloud.edu.au, your R-Studio instance will be set up with encrypted communications (i.e. https), significantly improving the security of your instance.
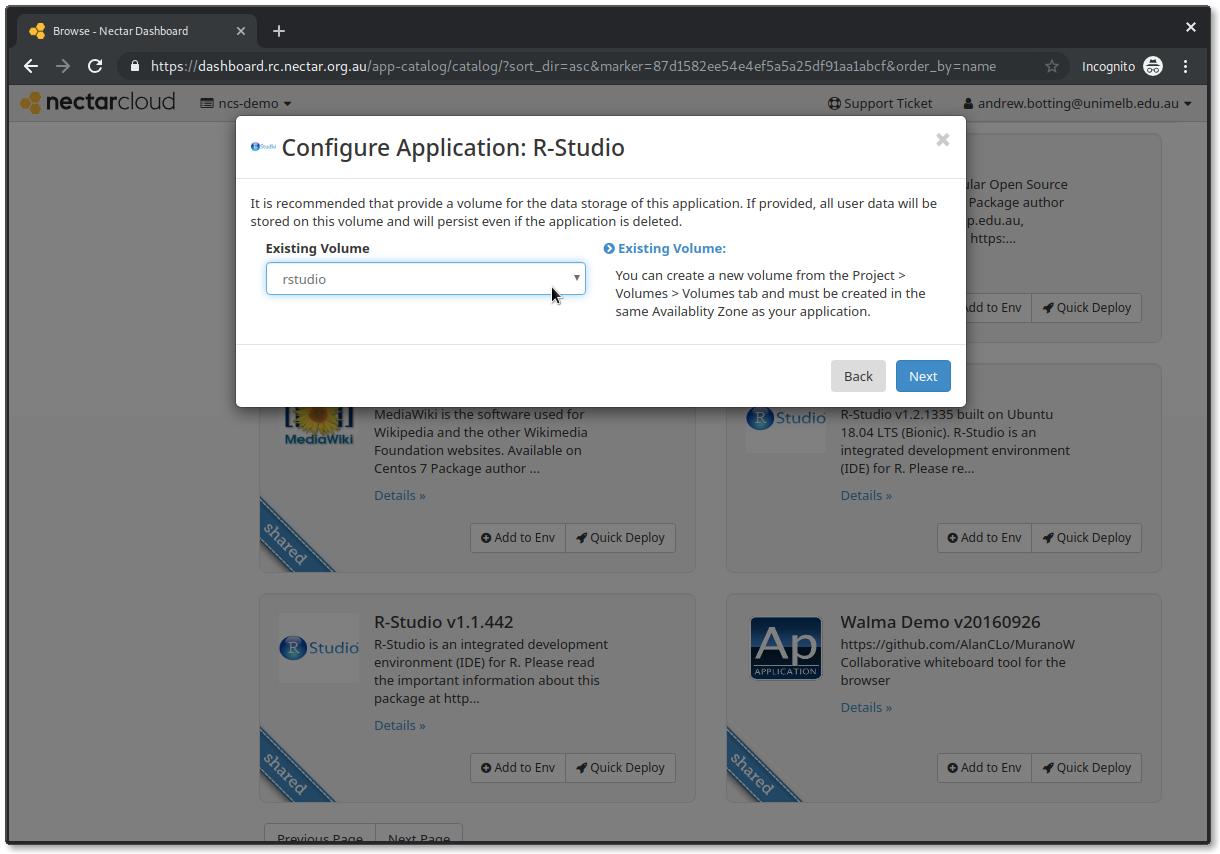
Existing Volume
Optionally, select your existing volume. Click Next to continue. You can complete this tutorial without using an existing volume.
A word on Volumes
With R-Studio you can select an existing volume for application data storage. Using a Volume makes any data you generate on your instance persistent, i.e. you can terminate the instance, but your data will remain intact on the volume until you launch a new instance with that volume attached. If you plan to use a volume, you have to have a Volume storage allocation and you have to make sure your volume and application environment are in the same Availability Zone. Learn more about volumes in our Volume Storage tutorial.
User Details
In this step, you should provide your desired Username and Password for R-Studio. You will be prompted for these later once the application has been deployed. Click Next to continue.
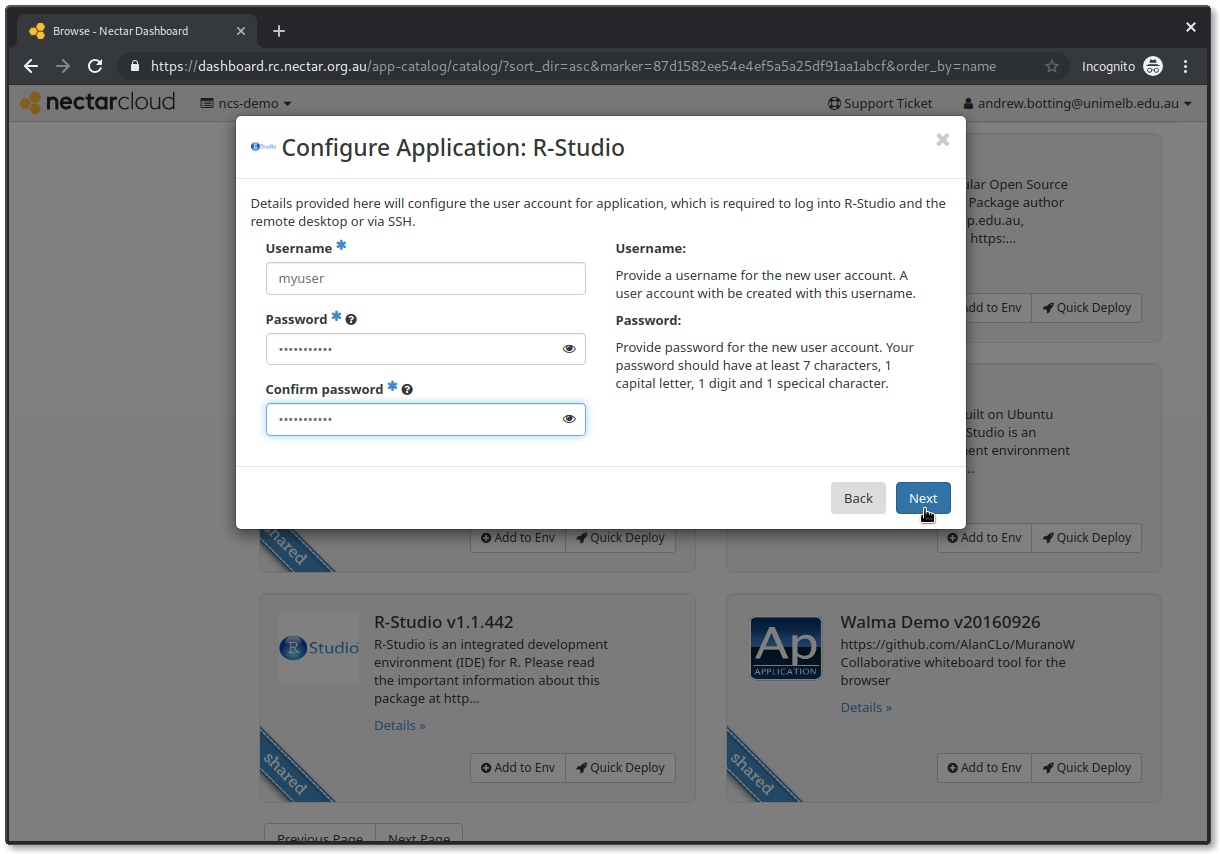
Passwords
Needless to say you should be sensible about passwords; see here.
The last step allows you to provide a name. You can keep the default, R-Studio, or supply your own. Click Create to continue.