Virtual Desktop Service
Category: Beginner
Difficulty: 1 out of 5
Duration: 20 minutes
Find a mistake? Let us know the issue here.

Using your Virtual Desktop
Let’s open your Virtual Desktop for the first time!
-
Click the
Open Desktopbutton.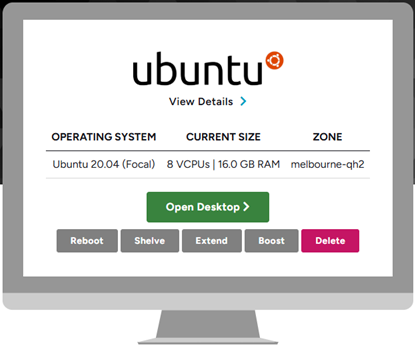
-
If prompted,
Allowthe Virtual Desktop to see text and images copied to the clipboard.
-
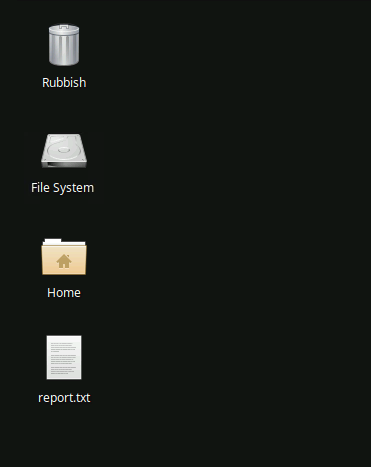
Your Virtual Desktop will open in a new tab. Now you will see a desktop environment, with some similarities to your standard computer. In Ubuntu 20.04 (Focal), there is a taskbar at the top, a menu button in the top-left corner to access applications, and folders on the desktop background. The layout of other Operating Systems will vary.
Finding programs
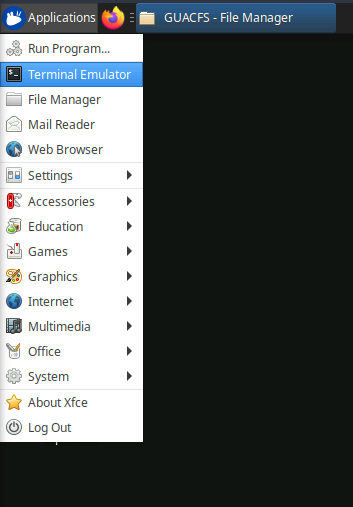
To find programs on the Ubuntu Virtual Desktop, navigate via the menu button called Applications in the top left corner. You have the basics, like an Internet Browser, Terminal Emulator and Office suite.
Let’s open the Terminal Emulator from the Applications menu.
Once you have opened the Terminal, you can enter commands. Two good commands to know are:
sudo apt update
and
sudo apt upgrade
To understand these commands, consider their components:
sudostands for ‘superuser do’, and elevates you to administrator privileges.apt updatetells the computer to check for updates to packages.apt upgradetells the computer to check for upgrades and install newer versions.
If there are upgrades available, you will be asked if you want to install them, and you can respond by typing y into the Terminal and pressing the Enter key on your keyboard.
Call Security! 🚨
It is good security practice to check for upgrades. You should do this each day you log into the Desktop for the first time. If you are using a Windows Server 2022 Desktop, you should also complete updates when prompted in the notifications (bottom right). Updating your Virtual Desktop ensures you have the latest Security patches. There is further information on our Security Checklist.
Copying and Pasting
Copying and pasting text between your local computer and the Virtual Desktop should work as expected. However, we are aware of a few minor anomalies:
- If you are using a Mac, use your
Commmandkey as normal when copying from your local computer, but useCtrlinstead when pasting to the Virtual Desktop. - When using Firefox browser and the Neurodesktop, there are extra steps required to ensure the copy/paste function works.
If you have any issues, consider checking out the Neurodesk FAQ on using the clipboard, which will apply to the Virtual Desktop service.
Transferring files
To transfer files from your local computer to the Virtual Desktop, drag them from your computer and drop them into the Virtual Desktop window.
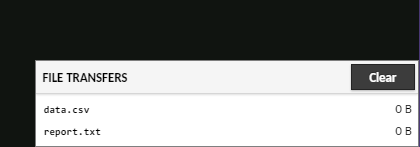
When you do this, a box will appear in the bottom right corner with the name of your file you transferred.
Transferring folders
If you want to transfer a folder from your local computer onto the Virtual Desktop, you will first need to compress it into a zipped file. To compress a folder on Mac, right-click on the folder and select Compress. To compress a folder on Windows, right-click on the folder and select Send to then select Compressed (zipped) folder. Once you have dragged the compressed folder onto the Virtual Desktop, you can unzip it by right-clicking on the .zip file, and selecting Extract Here or Extract To...
Where did the file go? It doesn’t matter where you drag and drop your file, whether it’s to the desktop or a particular folder, it will always go to thinclient_drives (it acts like a USB in the file explorer). In the Windows Server 2022 Desktop, files will go to This PC\Guacamole Filesystem on Guacamole RDP.
Navigating to the added files
-
Open the
File Systemfolder on the Virtual Desktop. -
On the left hand side, under
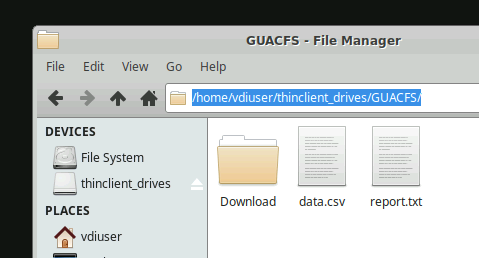
Devices, selectthinclient_drives, then open theGUACFSfolder.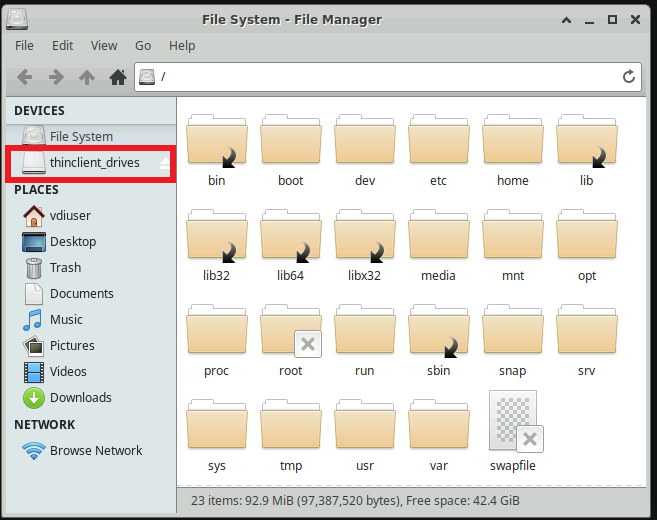
If you are using the Windows Server 2022 Desktop, click the Start menu in the bottom left corner, and open the
File Explorer. Then withinThis PC, openGuacamole Filesystem on Guacamole RDP.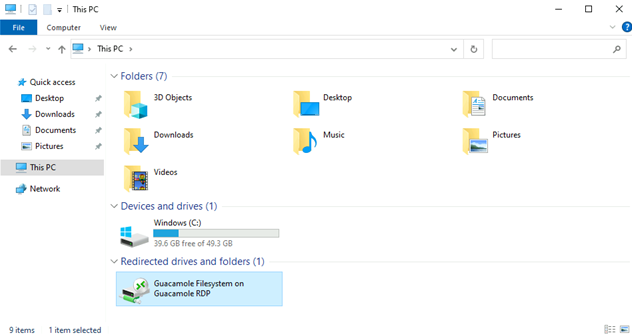
-
Here you should see any files or (zipped) folders you transferred.
You can move files and folders to anywhere you want to store them on the Virtual Desktop, in the same ways you would move files on your computer. For example, you can drag and drop a file into the Documents folder.
Note
It is important to move your files from the GUACFS directory (or Guacamole Filesystem on Guacamole RDP on Windows Server 2022) into your Virtual Desktop, as this location is only for file transfer and your files are not guaranteed to persist there.
Downloading a file from the Virtual Desktop to your local computer
-
Navigate to
Devices,thinclient_drives, then open theGUACFSfolder. On the Windows Server 2022 Desktop, navigate toThis PC\Guacamole Filesystem on Guacamole RDP. -
Drag and drop your file onto the
Downloadfolder. This will immediately begin the download process within the browser.
You’re up and running!
Well done. You have accessed your Virtual Desktop for the first time, opened applications, and learnt how to move files back and forth. In the next tutorial we will learn about how to manage your Virtual Desktop.

