Snapshots
Category: Beginner
Difficulty: 1 out of 5
Duration: 15 minutes
Find a mistake? Let us know the issue here.

Creating a volume snapshot
Creating a volume snapshot is a similar process to creating an instance snapshot.
Creating a volume snapshot
From the Nectar Dashboard, navigate to the Project, Volumes, then Volumes page.
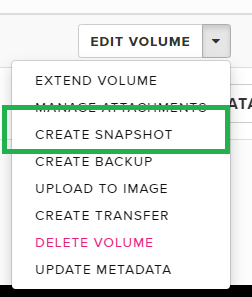
Locate the volume you want to snapshot, then from Actions list, select Create Snapshot from the drop-down box.
Choose a name and an optional description for your snapshot, then confirm by clicking on Create Volume Snapshot button.
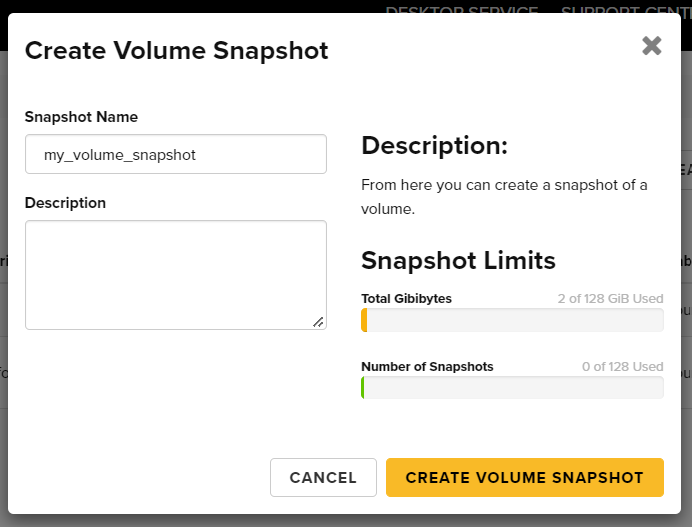
You will be redirected to the Volume Snapshot page where your new snapshot should appear in the list.

Creating a volume from a snapshot
To restore the volume snapshot to a new volume, you need to create a new volume from the snapshot.
From the Nectar Dashboard, navigate to the Project, Volumes, then Snapshots page.
Locate the snapshot you want to restore, then from the right-hand side in the Actions list, select Create Volume.
In the Create Volume window, type in the name for the new volume and an optional description. Other options should be automatically pre-filled when you select your snapshot.
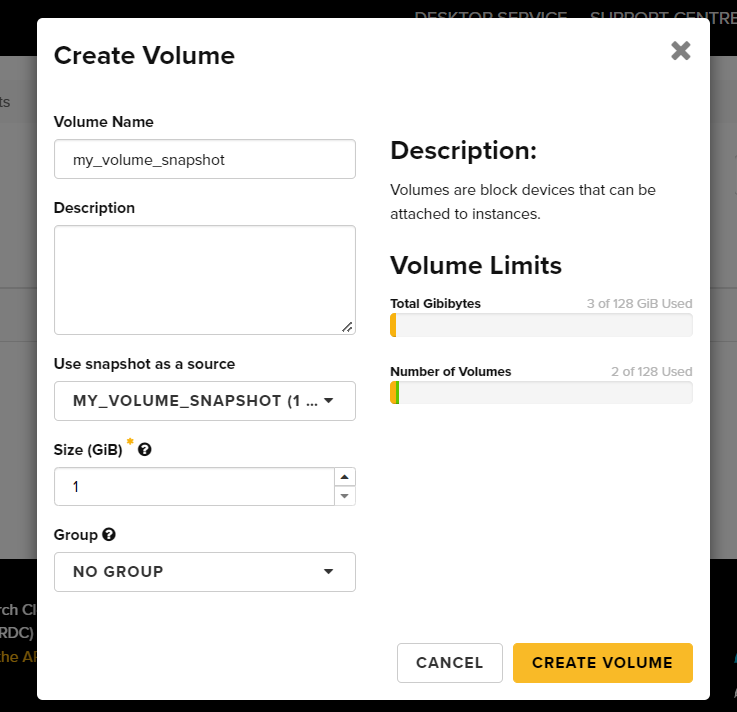
After clicking the Create Volume button, your new volume will be created and should appear in your list of volumes. You may now attach it to an instance, and mount it.