Orchestration
This tutorial is part of the Cloud Expert Series.
Back to Cloud ExpertCategory: Advanced
Difficulty: 4 out of 5
Duration: 50 minutes
Find a mistake? Let us know the issue here.

Using the dashboard
In this section, we are going to create our orchestration stack using the Nectar Research Cloud dashboard.
Creating the stack
- From the Nectar Dashboard, navigate to the
Project/Orchestration/Stackspage.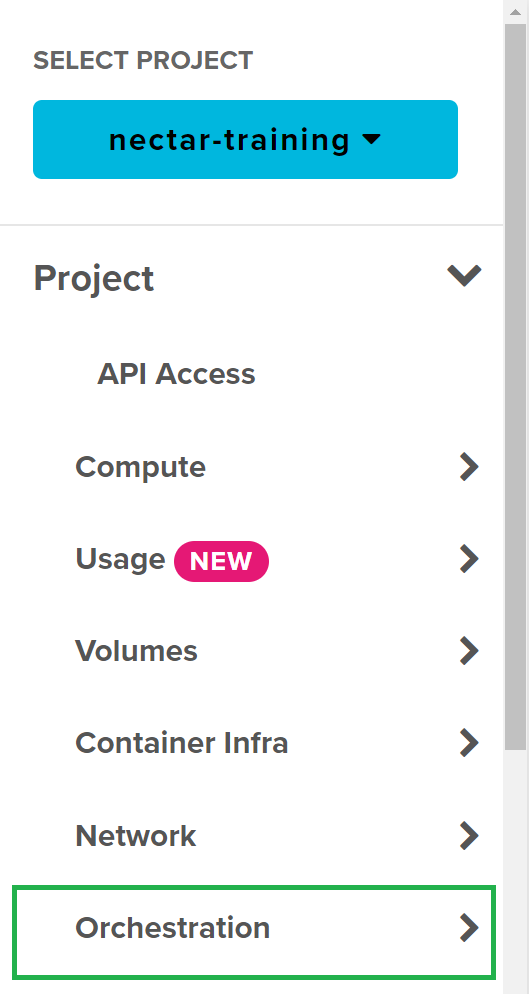
- Click the
Launch Stackbutton to start the Launch dialog.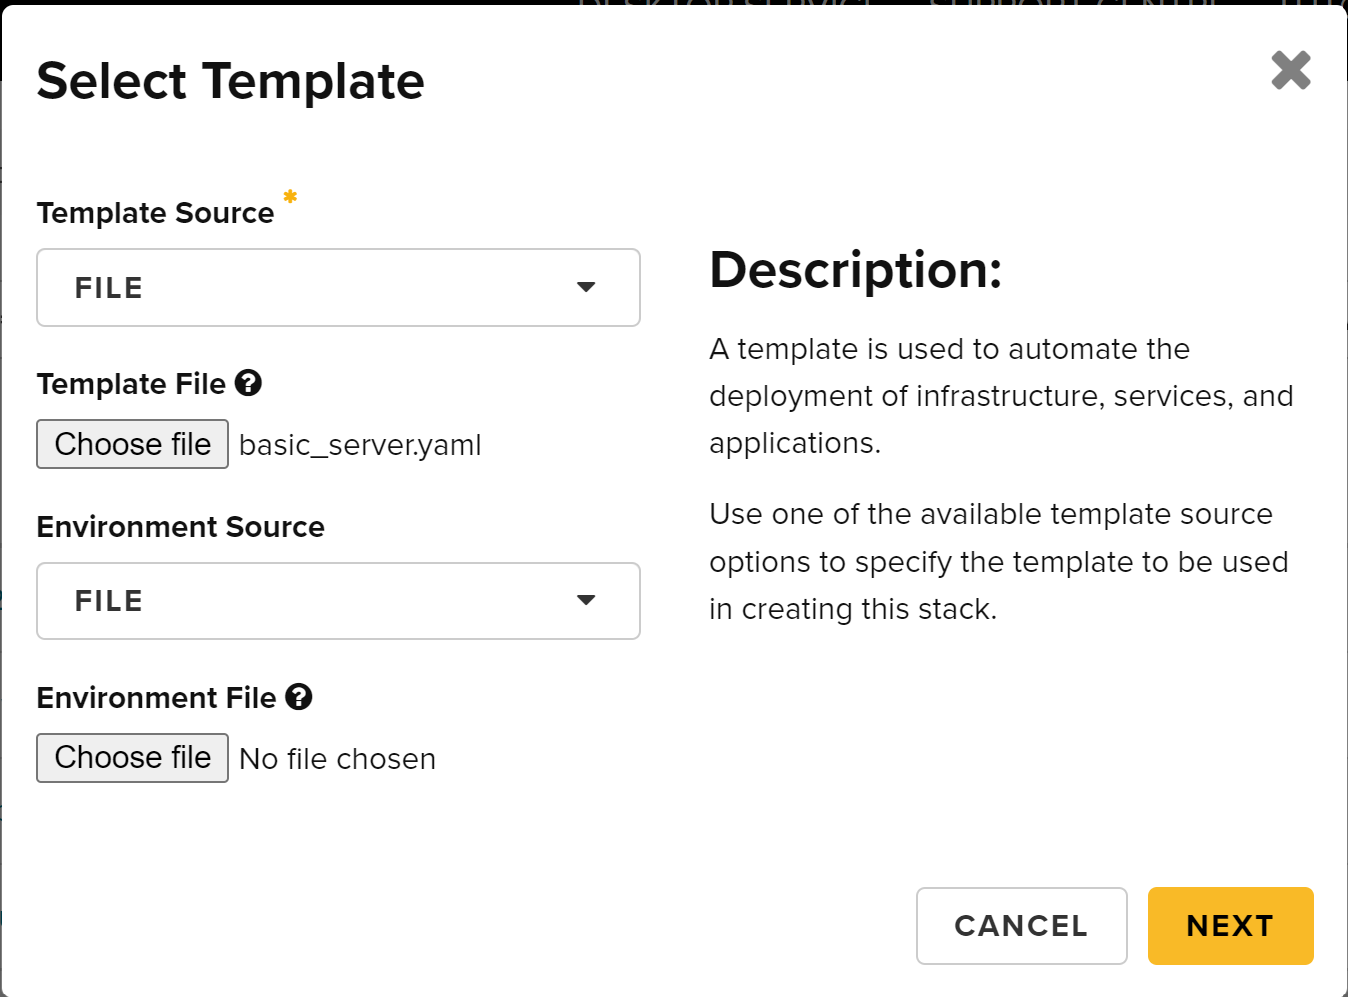
- Ensure the
Template Sourcefield is set toFile, then click theChoose Filebutton to select thebasic_template.yamlfile from the previous page. - Click
Nextbutton and provide a name in the theStack Namefield.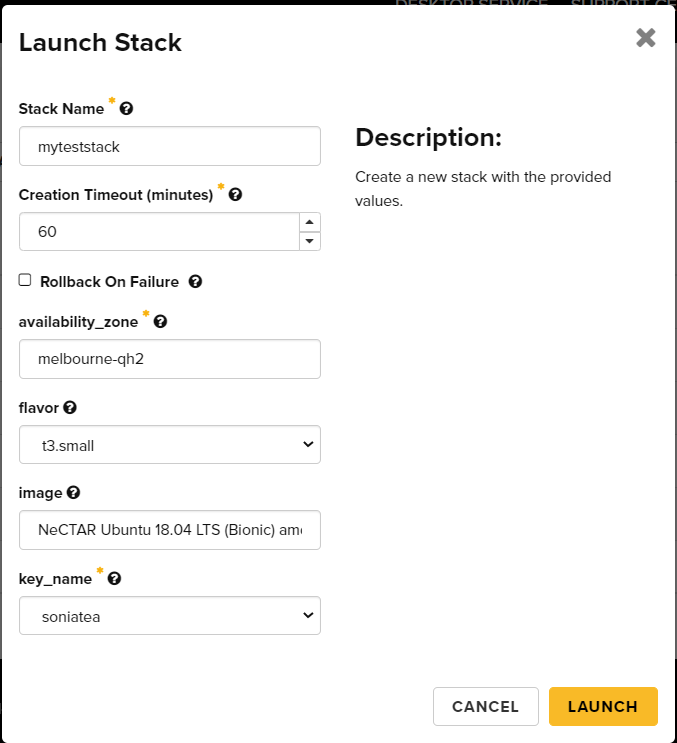
- Provide an Availability Zone in the field that you have access to.
- Choose a flavor, image and an SSH key for the remaining fields. Note that defaults from your template have already been provided.
- Click
Launchbutton.
The orchestration service will now create the resources defined in the template and the Status column in the Stacks table should show Complete once it’s done.

If you navigate to the Project / Compute / Instances page and you should now see your compute instance running.

From the Instance Actions menu, if you choose the Edit Security Groups item, you should see that the orchestation engine has also created a new security group
and applied it to your instance.
Deleting the stack
From the Project / Orchestration / Stacks page, select the tickbox to the left of your running stack and choose the Delete Stacks button.

The orchestration engine will clean the resources in the reverse order, ready for us to use the command line tools in the next section.