Moving data
This tutorial is part of the Cloud Starter Series.
Back to Cloud StarterCategory: Beginner
Difficulty: 1 out of 5
Duration: 18 minutes
Find a mistake? Let us know the issue here.

FileZilla - GUI apps
Command line applications are great, and can easily be automated and scheduled using standard interfaces. Some people prefer graphical tools (aka software).
Filezilla is a graphical tool for moving data. We’ll be using SFTP to create a connection to our instance and move some data there and back.
Other options
Filezilla is one of many options for graphical data moving tools. Other popular options include Cyberduck (cross platform) and WinSCP
Add private key
Before you connect, you need to let FileZilla know about which private key to use.
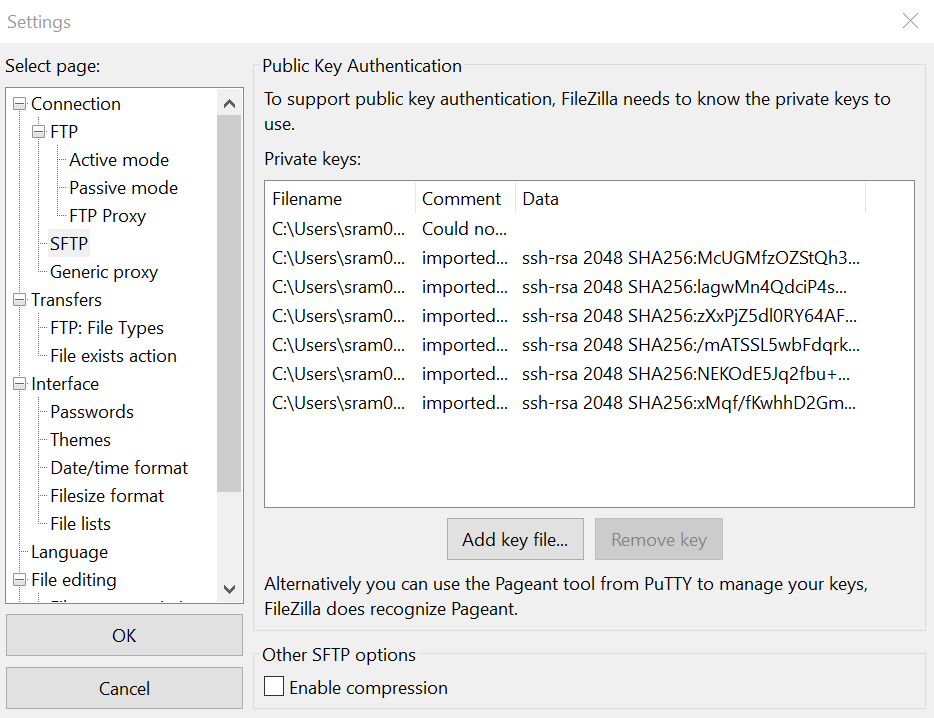
- On the program menu, go to
edit, thensettings.
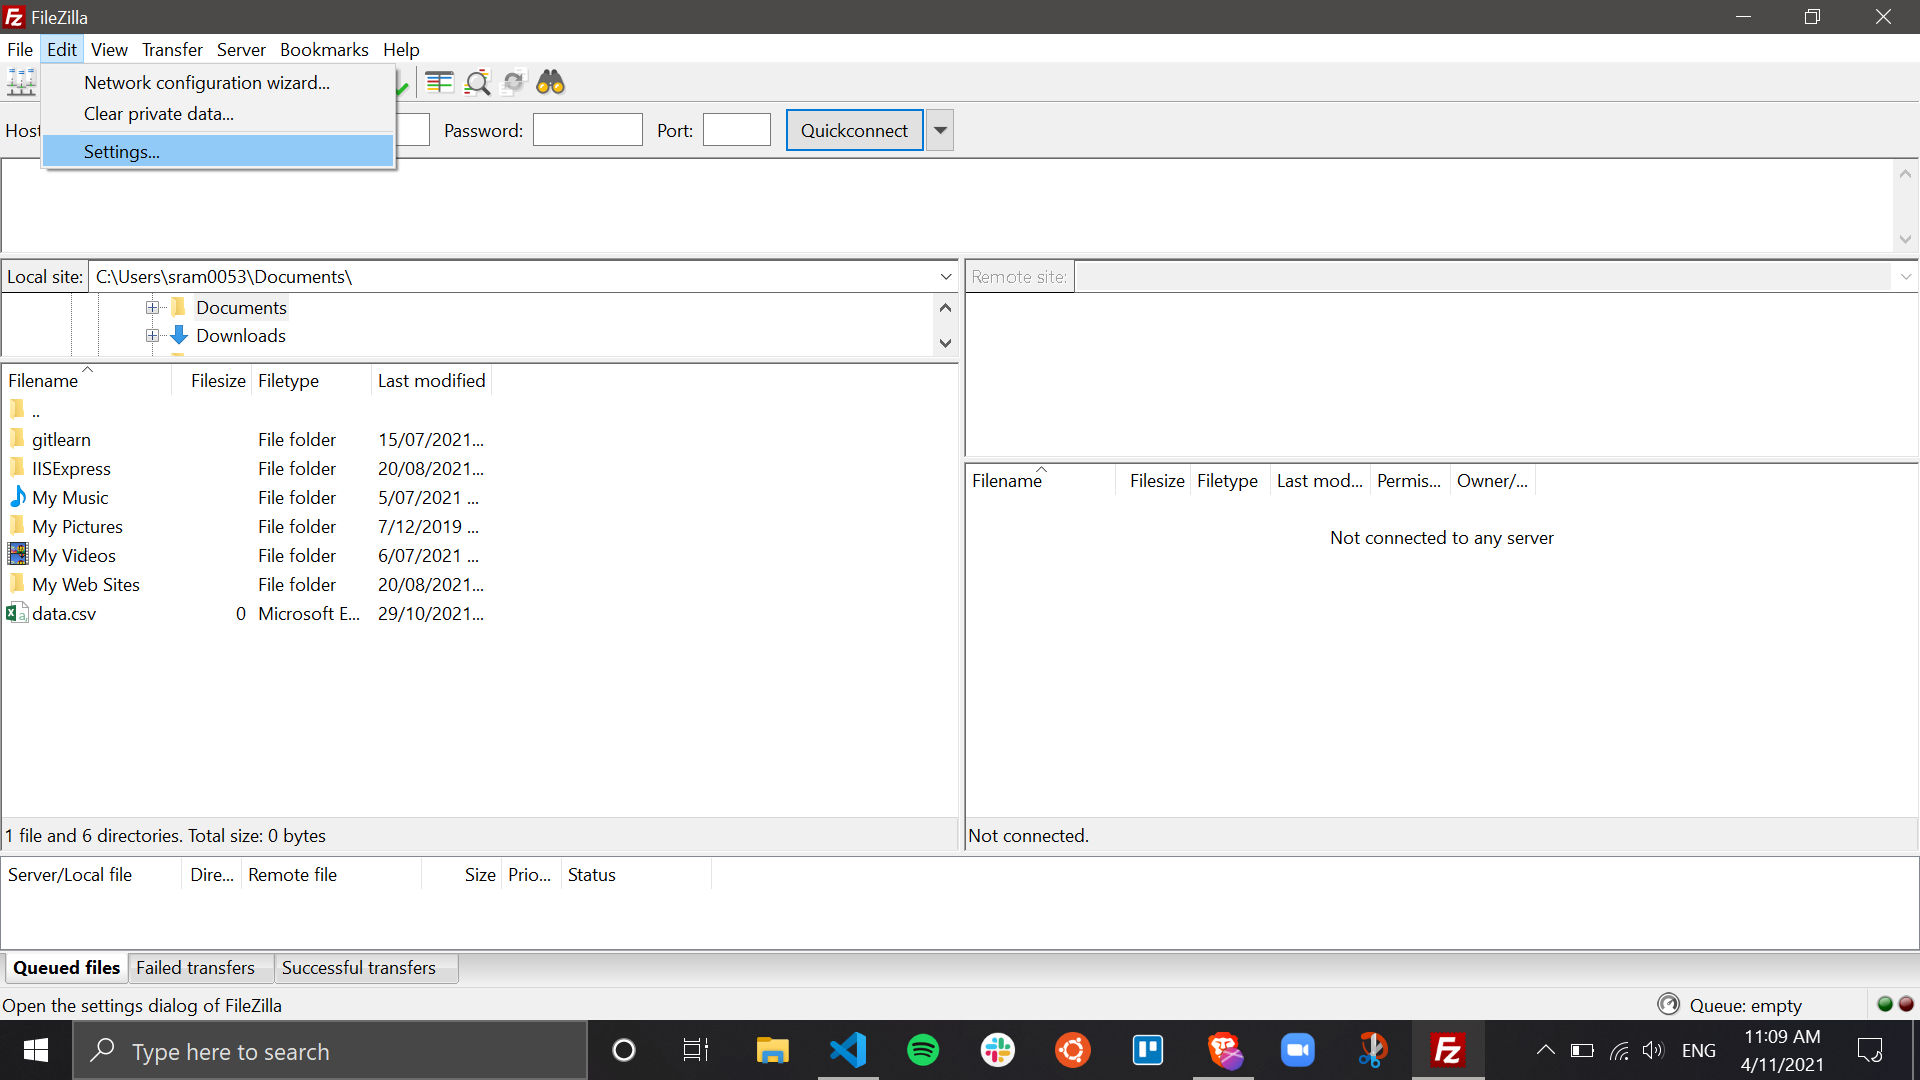
On the left hand side, select SFTP, then click add key file... In the window that appears, navigate to your private key file location, and click open.
Let’s connect
Now, you can fill in the ‘Quick Connection’ details at the top of the main window. We have a filled in example in the screenshot as well.
- Add your Host information, this is the IP address of your instance.
- Add your Username, which is based on what Operating System/Image you chose at setup of your instance, in this tutorial, we chose Ubuntu, so our username is
ubuntu. For other images’ usernames, read this article here. - For the Port, we add
22as we are using the SSH method to connect. - Lastly, then click Quick Connect

If successful, you will see the file structure of your Cloud Computer on the right side. If it does not work, there will be clues in the status bar as to the error. You can also ask our friendly digital help desk team as well.
We’ll let you work out how to Double click, or Drag-and-drop files, Create remote directories, Upload files, Save/Reuse session data and Disconnect for yourself on your particular platform.