OpenStack CLIs
This tutorial is part of the Cloud Two Series.
Back to Cloud TwoCategory: Intermediate
Difficulty: 3 out of 5
Duration: 27 minutes
Find a mistake? Let us know the issue here.

Setting up your credentials
Before you can start to use the OpenStack client, you need to setup your OpenStack credentials.
These credentials are different to the login you use for the dashboard.
Log on to the Nectar Dashboard and ensure you’re working in the right project (Use the project selector on the top left-hand side).
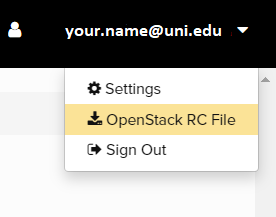
Click your email address from the top right corner and click OpenStack RC File to
download the authentication file. Save the file to your computer, where you
want to run the OpenStack client.
The authentication file contains all the settings required for authentication, except for your password.
Your OpenStack password
If you have already generated an OpenStack password and have it stored,
you may want to skip this next step and use your existing password.
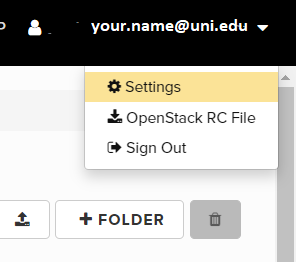
Click Settings in the same drop down menu to get to the Settings page.
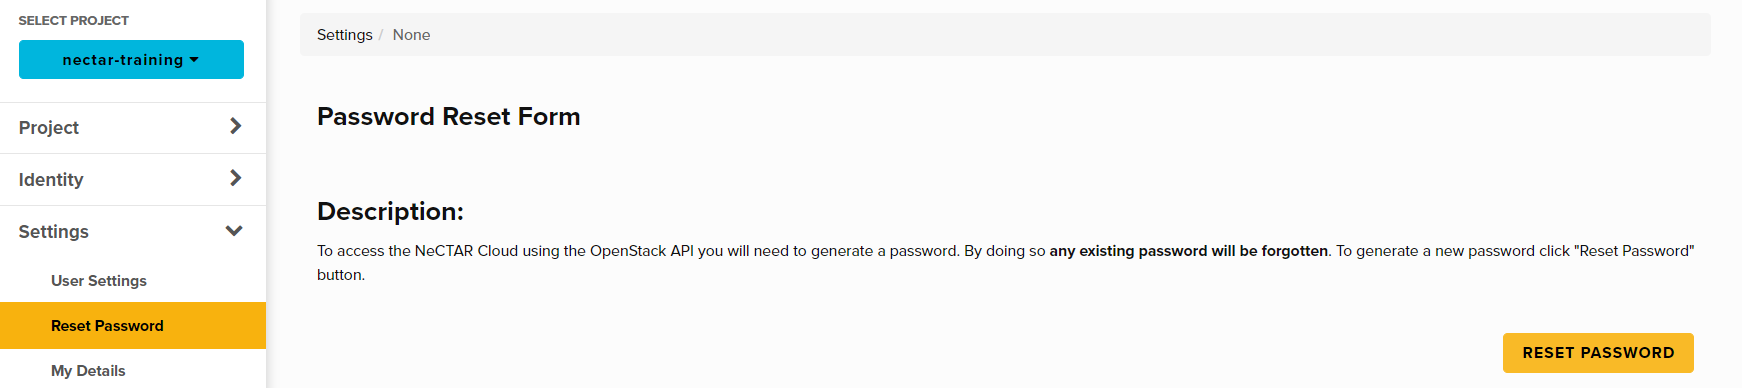
Then click Reset Password to generate a new password.
CLI password
Note that this password is used only when working with the CLIs and APIs.
This password does not replace the password you use to log into the Dashboard,
as this is access is managed by your insitution.
Execute the below command with your specific authentication file name (it should have the name of the project you were working in when logged into the dashboard, in the file name). Lastly, type in the password when it prompts.
source project-openrc.sh
Windows users alert!
If you are using Windows, before running the Command above in the Windows Terminal or Powershell, type in the command bash first, this will get the Windows Subsystem for Linux (WSL) running. If you didn’t install WSL before starting this tutorial, head back to the Overview page and do that now. Then you can come back and run the Command above.
Location, location, location
Before entering the source command above, make sure you navigate to the location of the file first, or move it to a preferred location you would like to work from. Note: Windows users, you need to move it to the Windows Subsystem for Linux area. While in your ~ (home) directory, you can enter the command explorer.exe ., and this will open a window, which you can then drag and drop the file from your Downloads folder.
Now you can proceed to the next section to see how to use the OpenStack client.