Loadbalancing
Category: Advanced
Difficulty: 5 out of 5
Duration: 60 minutes
Find a mistake? Let us know the issue here.

Using the dashboard
Setting up the private network
Firstly, we’re going to set up a new private network to use.
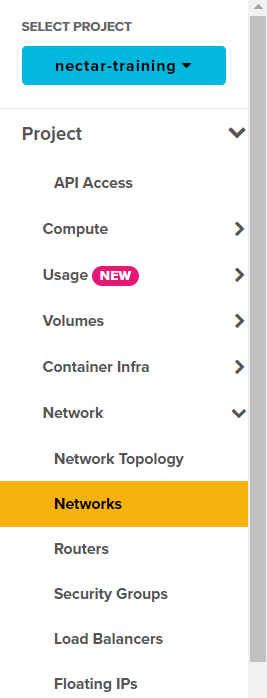
Navigate to Project / Network/ Network section on the dashboard navigation menu.
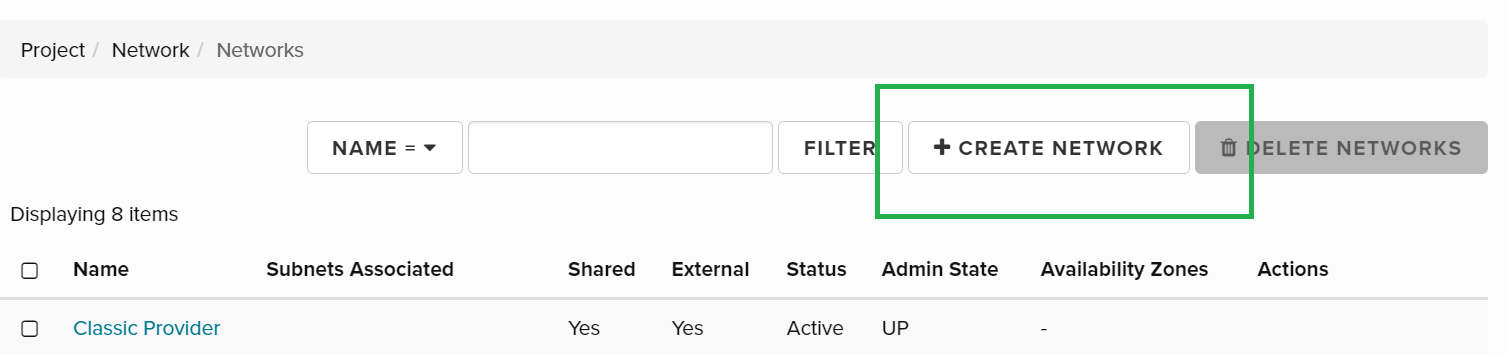
On the right side, you will see the button Create Network, select this.
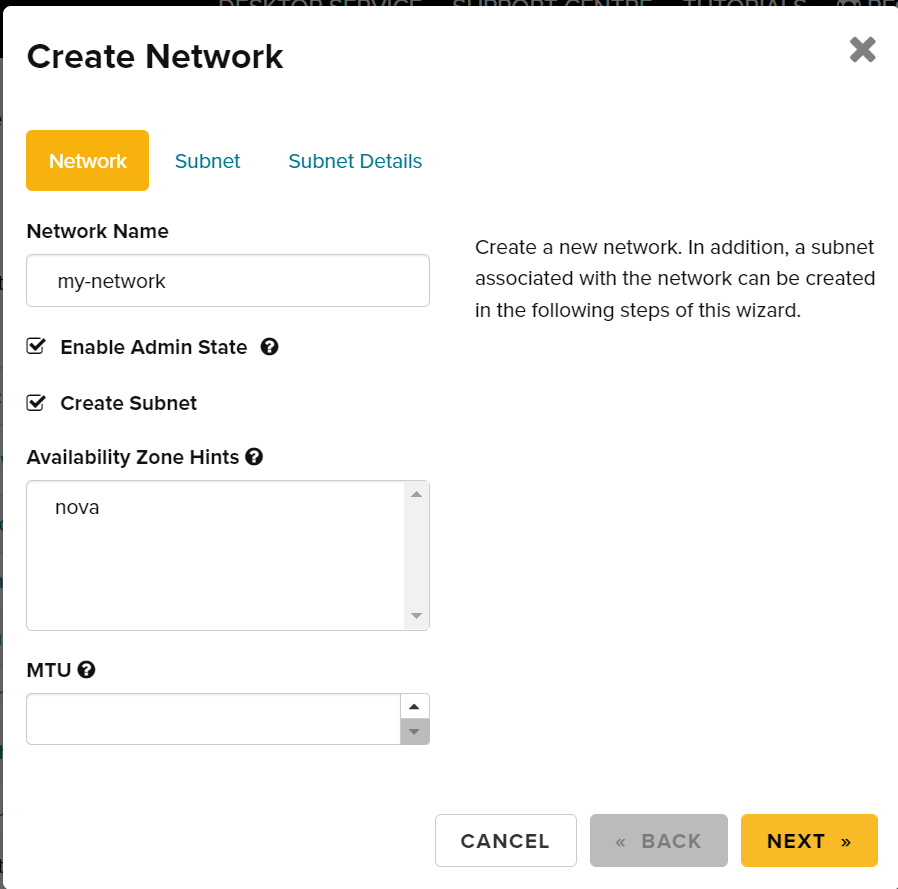
In the window that appears, let’s start by giving the network a name: my-network.
You can leave the Enable Admin State, and Create Subnet selected. Now, click the blue next button.
Let’s now create a subnet for our network, giving the name my-subnet using the 192.168.77.0/24 private IP range for the Network Address field.
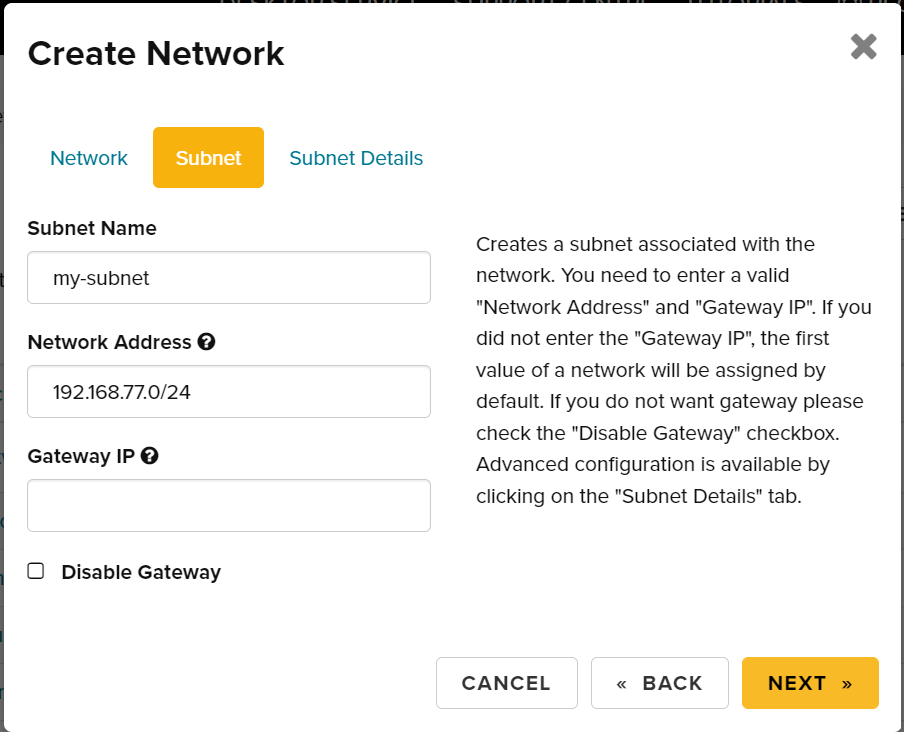
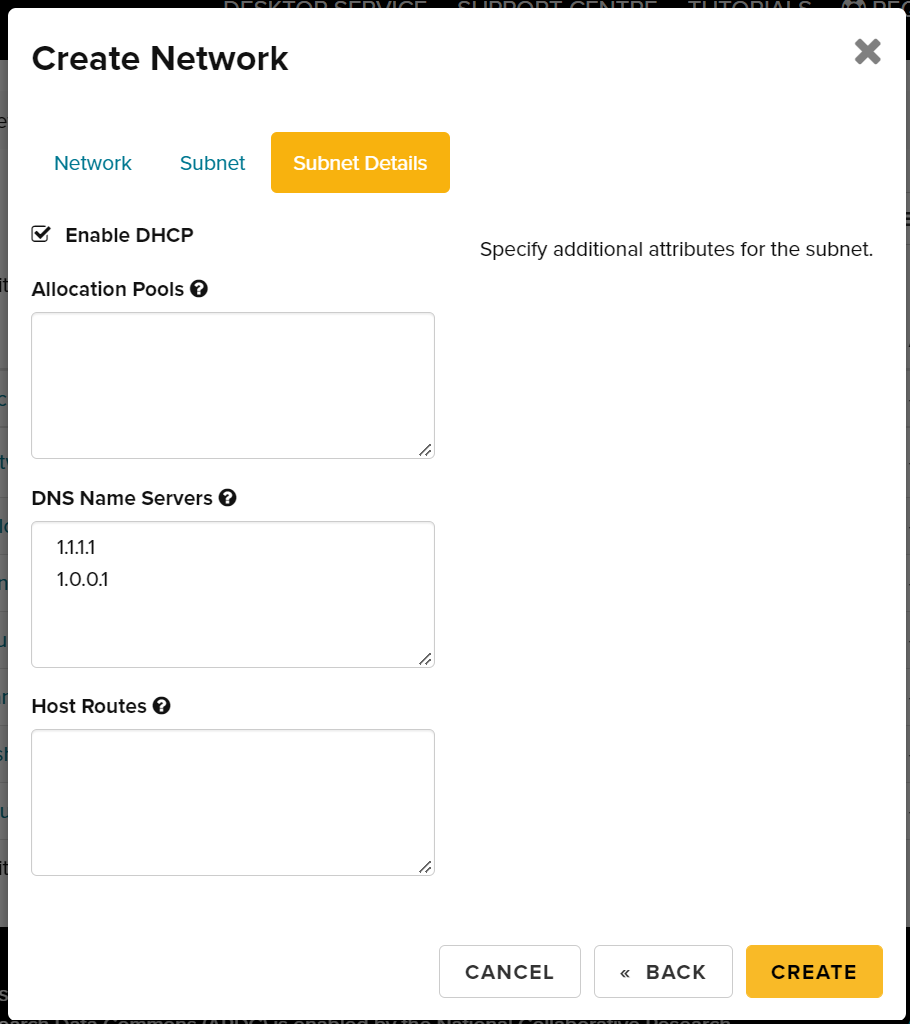
If you did not enter the Gateway IP, the first value of a network will be assigned by default. If you do not want gateway please check the Disable Gateway checkbox. Advanced configuration is available by clicking next or the Subnet details tab. For this tutorial, we can leave the currently present settings as is, and simply press Create.
Your network should then appear in the list of networks available for your project.
Create a router
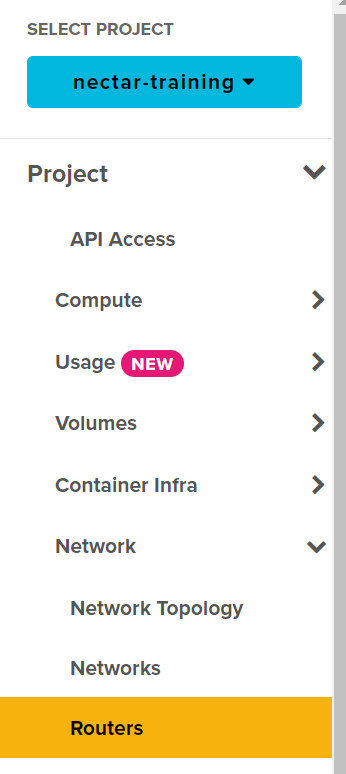
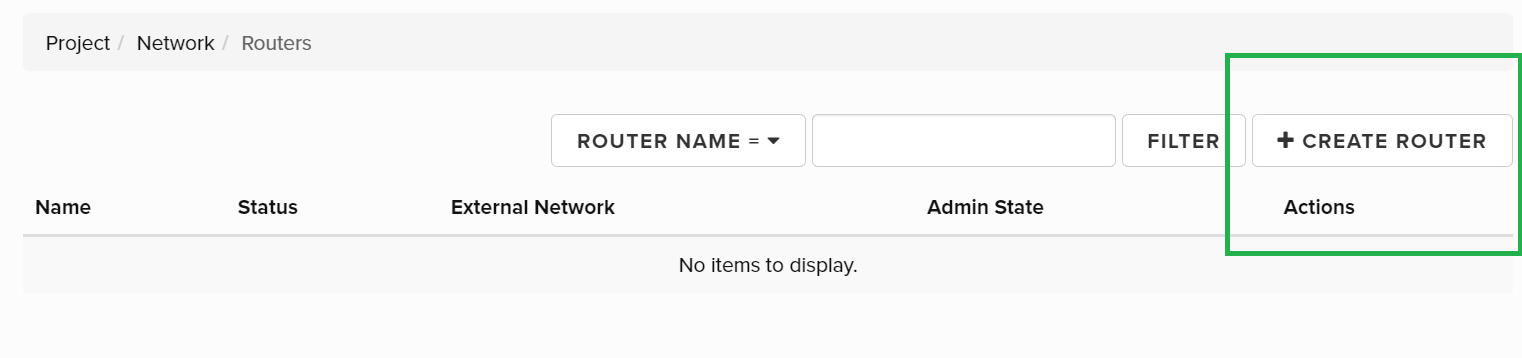
Navigate to Project / Network/ Router section.
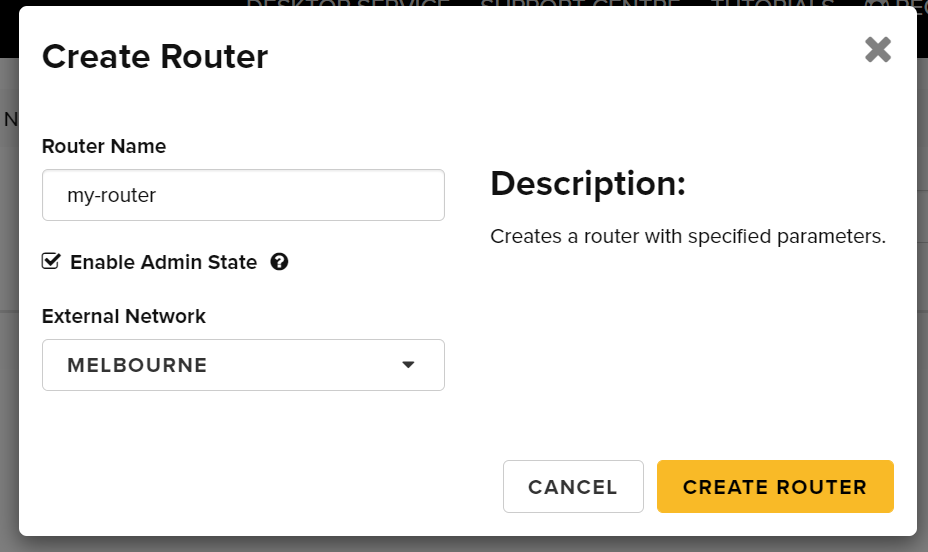
Select the Create Router button on the right side.
Use the dropdown box under External Network to list the available networks, so we can choose the right one for our project.
In this example, we’re going to use the melbourne external network for our router, but you should choose the network that is appropriate for your project.
Lastly, select Create Router.
 .
.
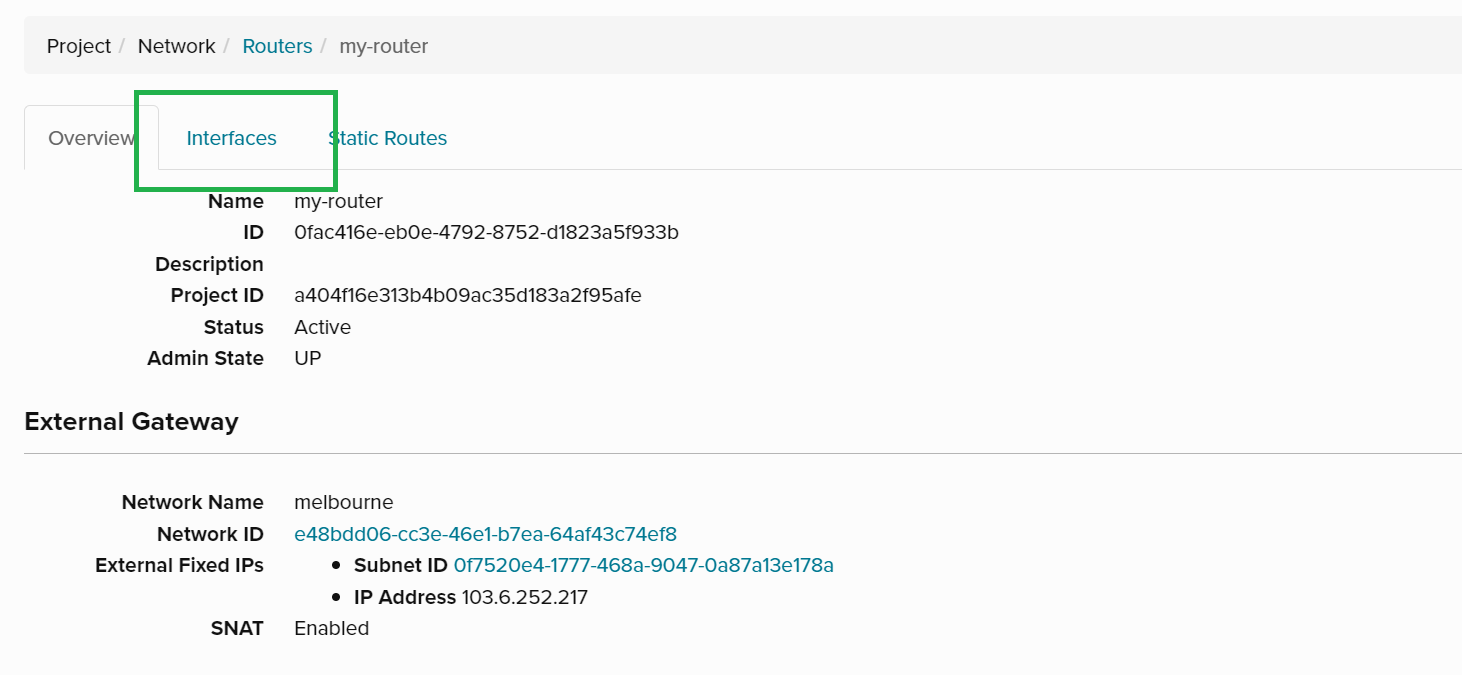
Now, we need to connect our router to the network we created. To do this, click the name of the router you created, and select the second tab that appears, called Interfaces.
 .
.
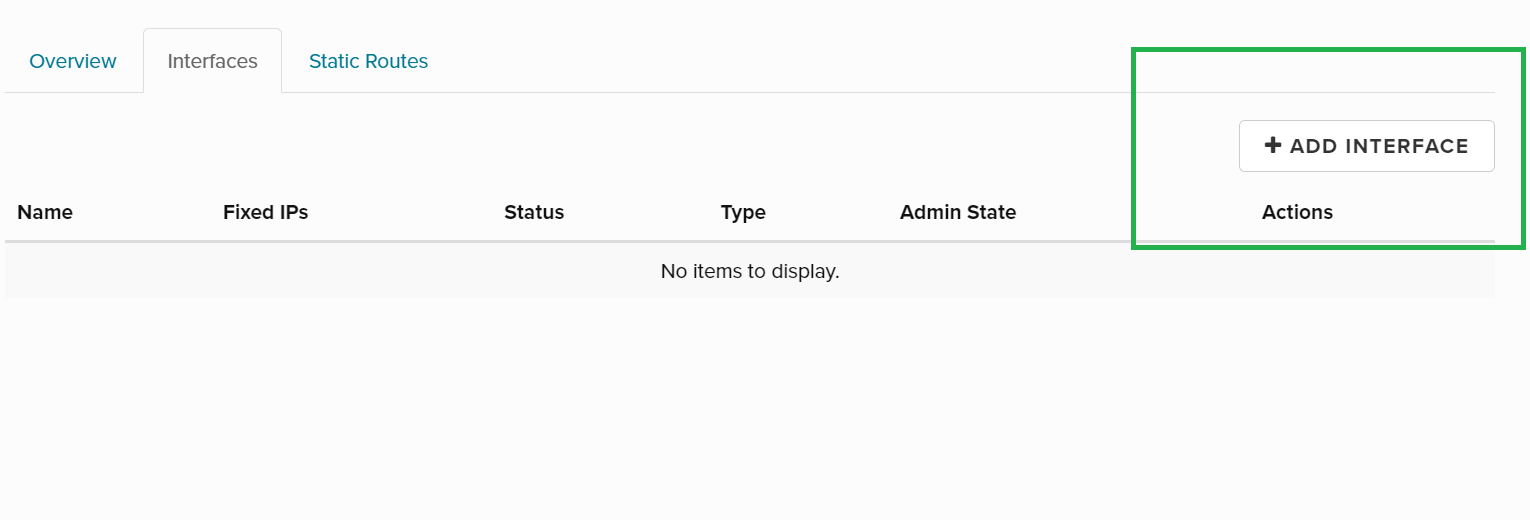
Select the Add Interface button on the right side.
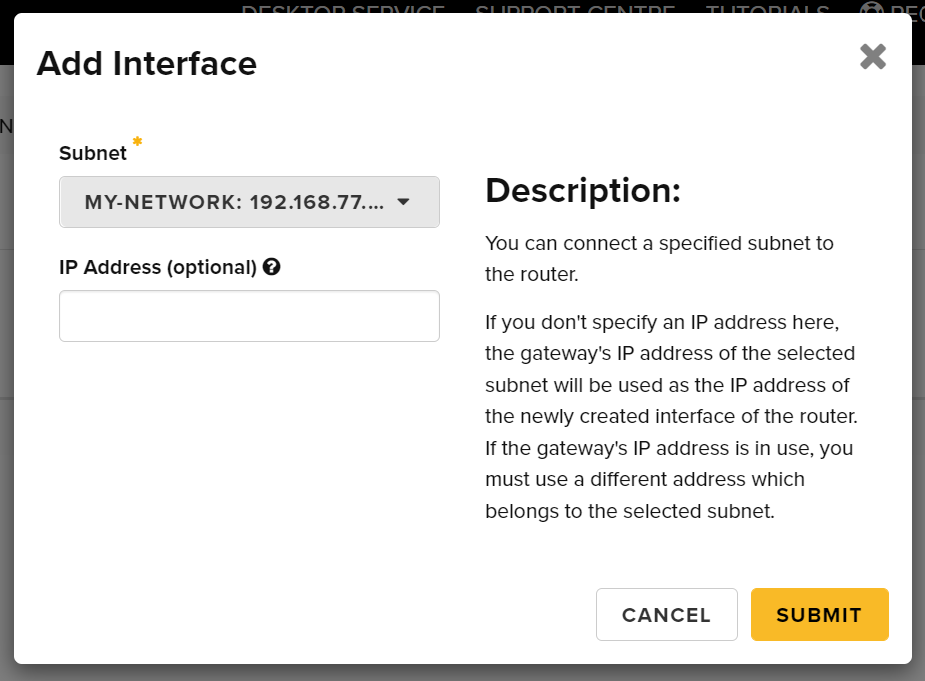
In the dropdown box that appears, select the name of the network we created previously, then select submit. Yo should then see one item in your list of interfaces. Nothing further required here.
Creating a Loadbalancer
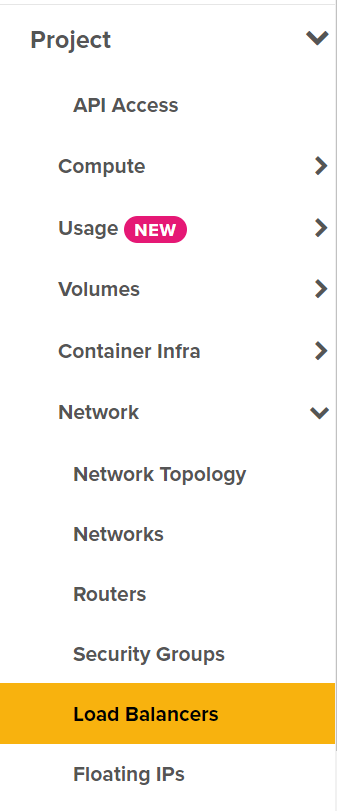
Let’s navigate to the Project / Network / Load Balancers page.’
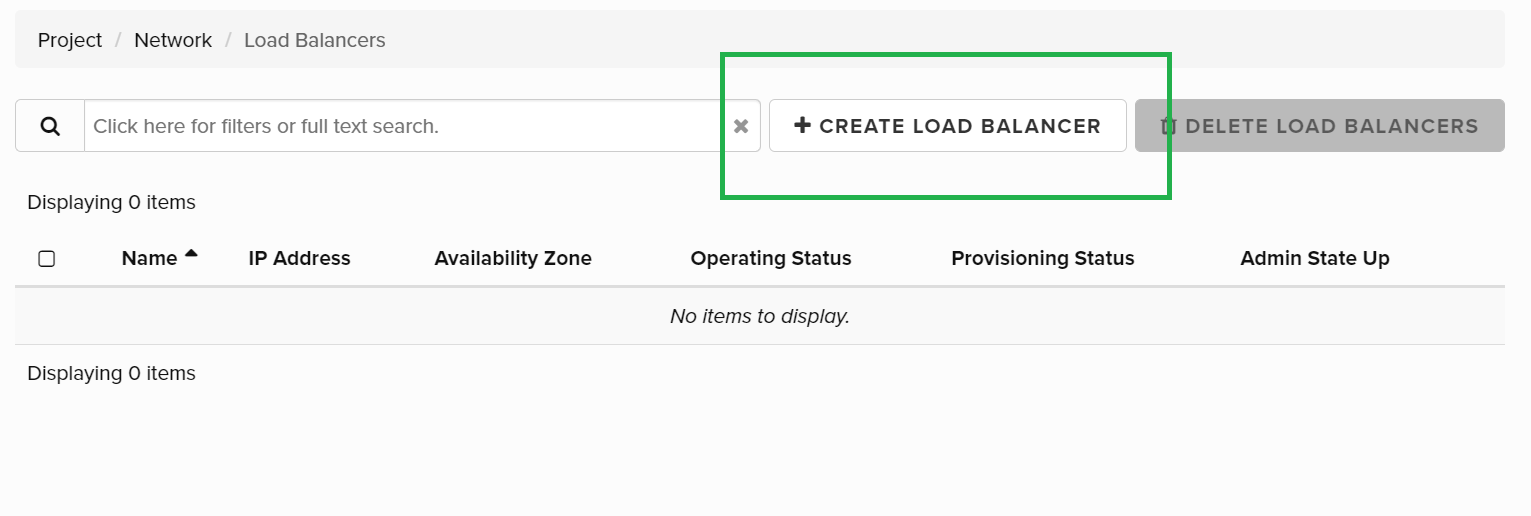
On this page, select Create Load Balancer, on the right side.
In the pop up that appears, let’s add the loadbalancer details. For this example, we can simply add the Name, let’s call it my-loadbalancer, and select the Availability Zone, in this example we will select melbourne qh2. Lastly, select the network/subnet that was created earlier as well.

Once completed, click Next.
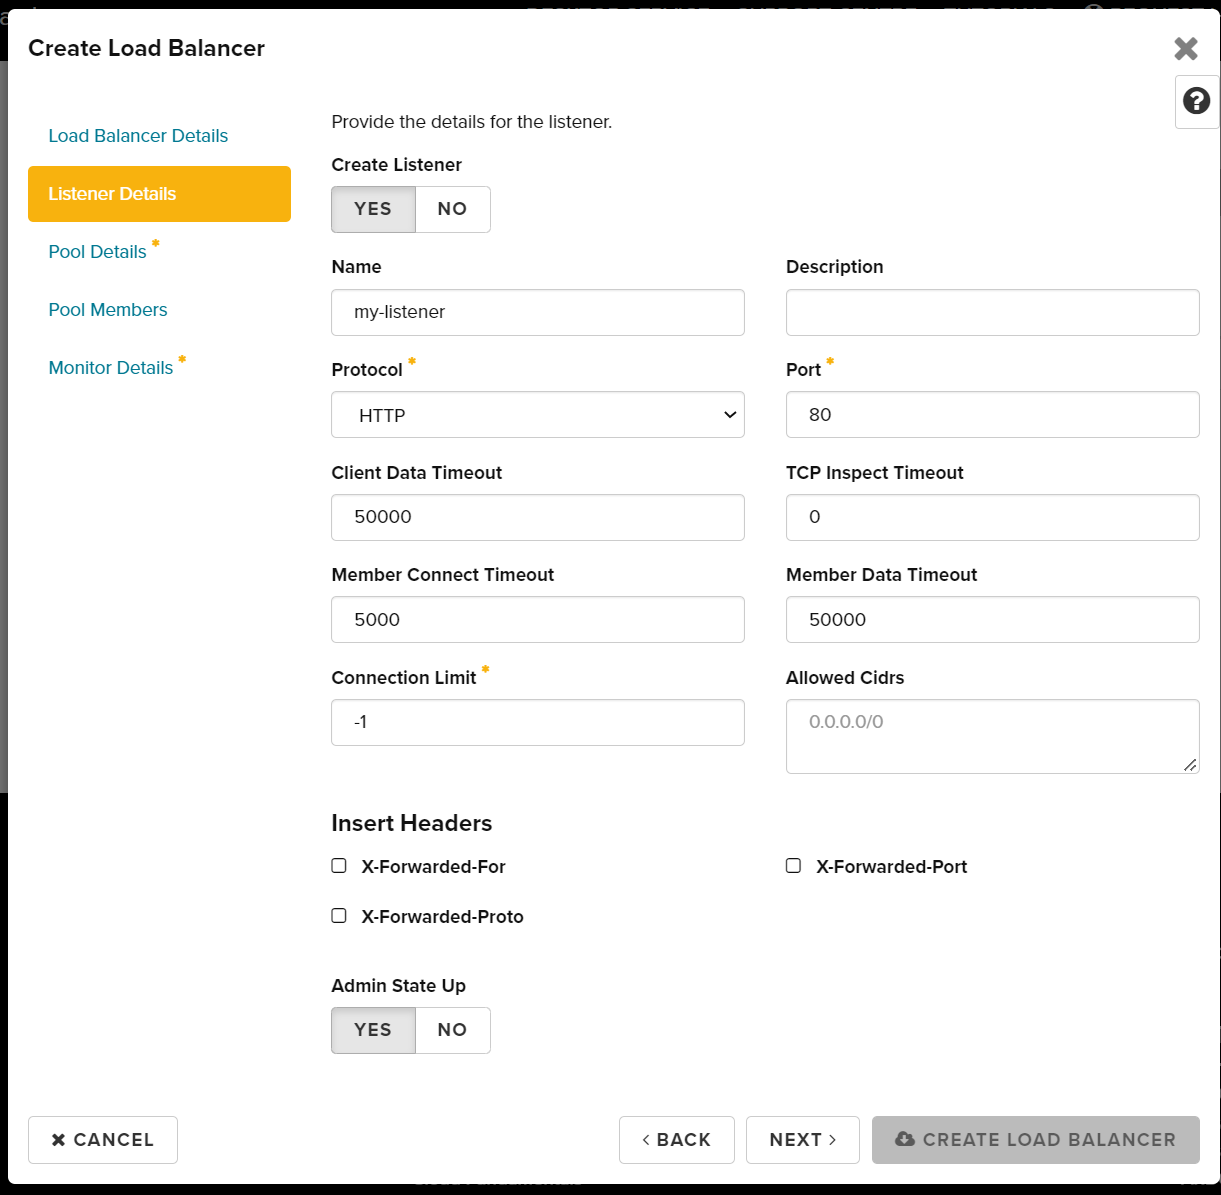
Next we add our listener resource details. For the name, let’s call it my-listener. In this example, select Protocol HTTP and Port 80. The other details can be left as default. Click next.
We now need to create a pool. For the name, let’s call it my-pool. For the algorithm, let’s select ROUND_ROBIN.
In this example, the other details can be left as is.
Click next.

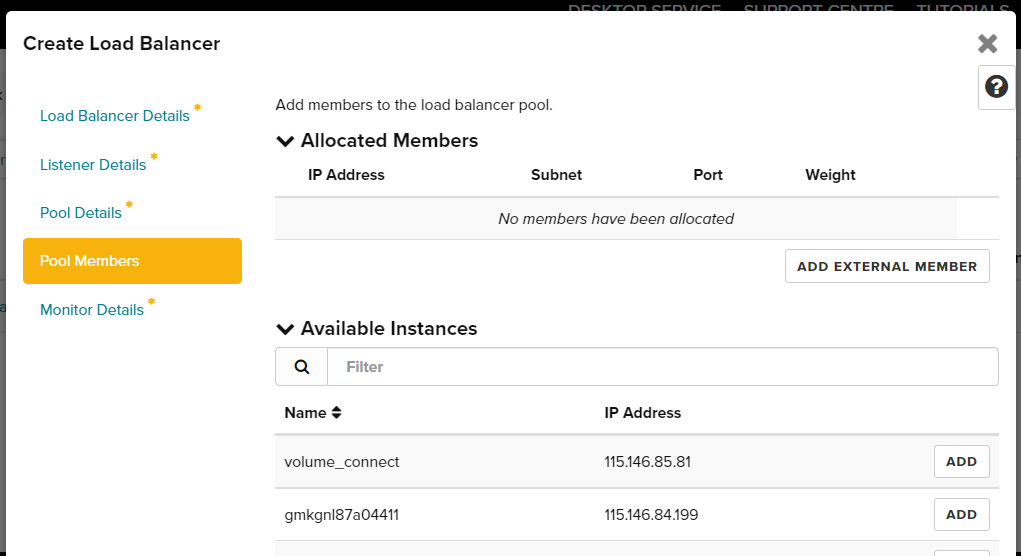
For pool members, you have the option to add external instances, via IP Address, Subnet and Port details. Alternatively, you can add instances available in your project, by selecting the Add button. For now in this example, we will not add anything.
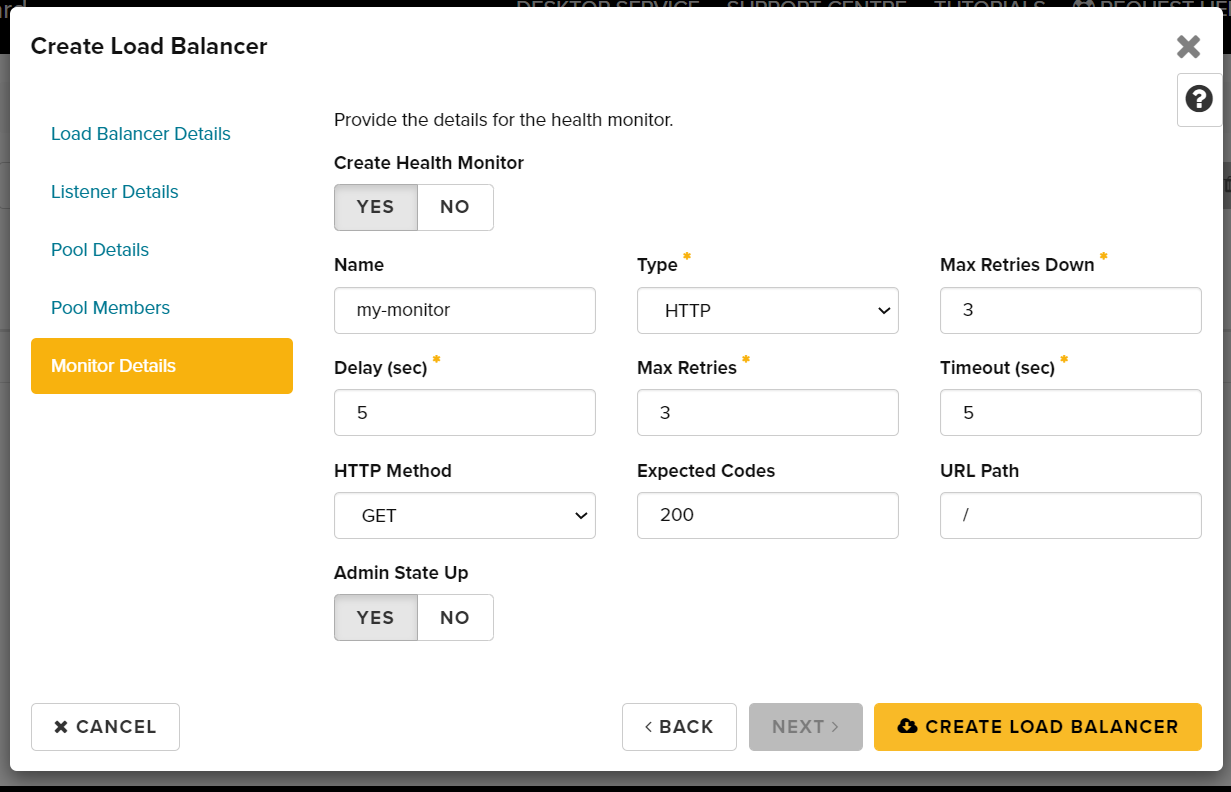
Lastly, we need to create add monitor details. A healthcheck is essential to ensure that connections are not directed to backend members that are not responding.
Let’s give the name my-monitor. For type let’s select HTTP. Now, we can click Create Loadbalancer.
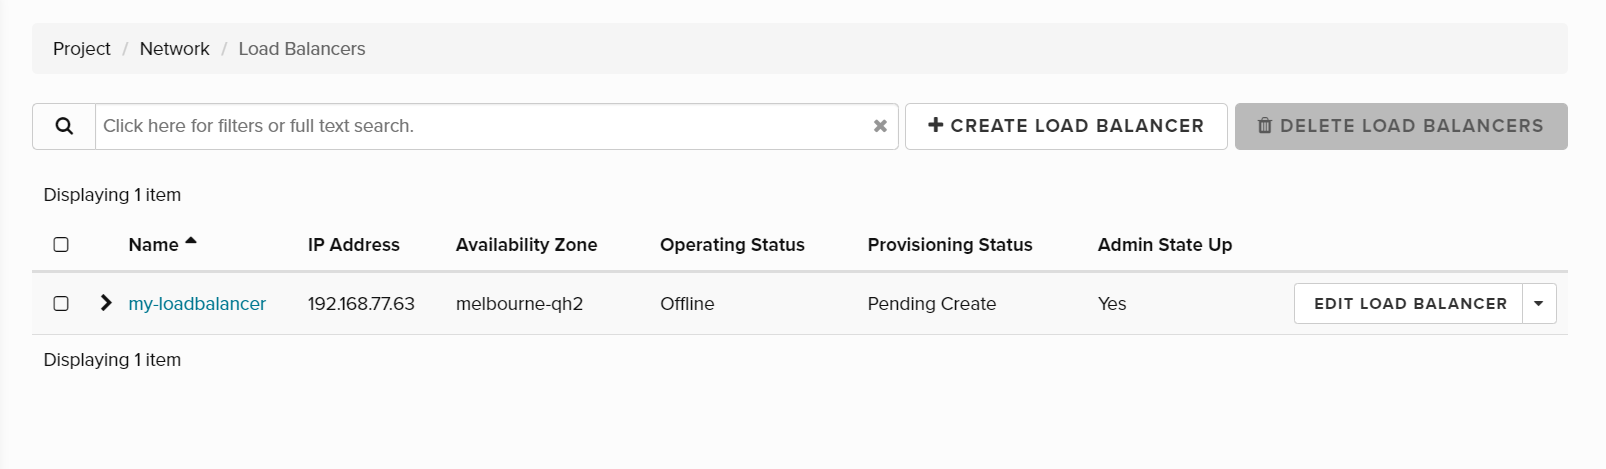
Success!
You’ve created a loadbalancer. Nice work! You should see something similar to below on your loadbalancer list.