Application Credentials
This tutorial is part of the Cloud Two Series.
Back to Cloud TwoCategory: Intermediate
Difficulty: 3 out of 5
Duration: 15 minutes
Find a mistake? Let us know the issue here.

Creating an Application Credential
- Logon to your Nectar Dashboard and ensure you’re working in the right project (Use the project selector on the top left-hand side).
- Navigate to the
Identity | Application Credentialspage using the navigation links on the left side of the page. -
Click the
Create Application Credentialbutton to open the Create Application Credential dialog.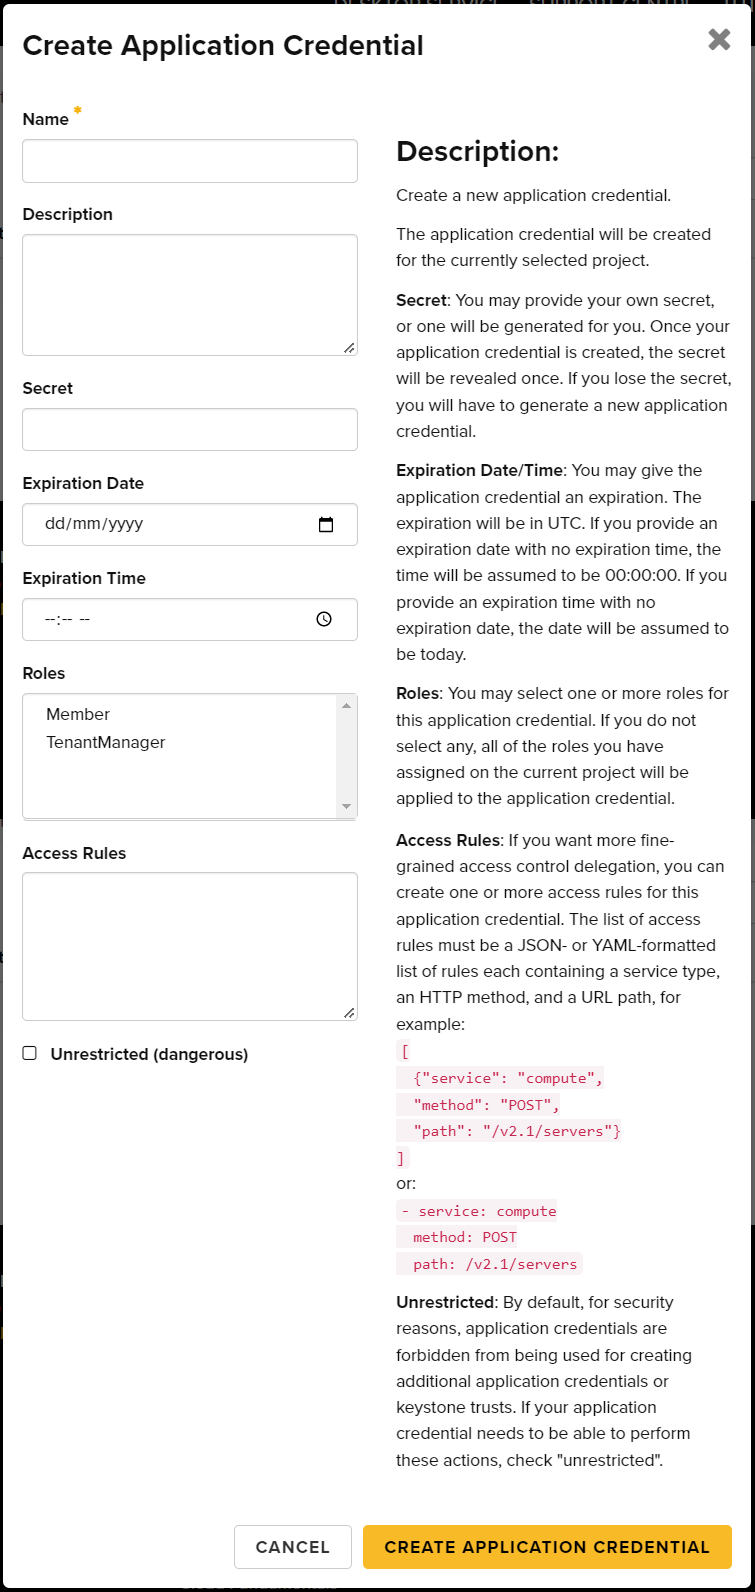
- Provide a credential name in the
Namefield. - You can leave the
Secretfield blank, and a secure secret will be generated for you. - Optionally, provide an expiration date in the
Expiration Datefield. - Optionally, select the roles to grant to this application credential.
Selecting nothing will grant all roles listed. If you have more than one
role, it’s best to limit what you grant here to just what your script
requires. Usually the
Memberrole is enough. - Click the
Create Application Credentialbutton. -
Click the
Download openrc filebutton and theDownload clouds.yamlbutton.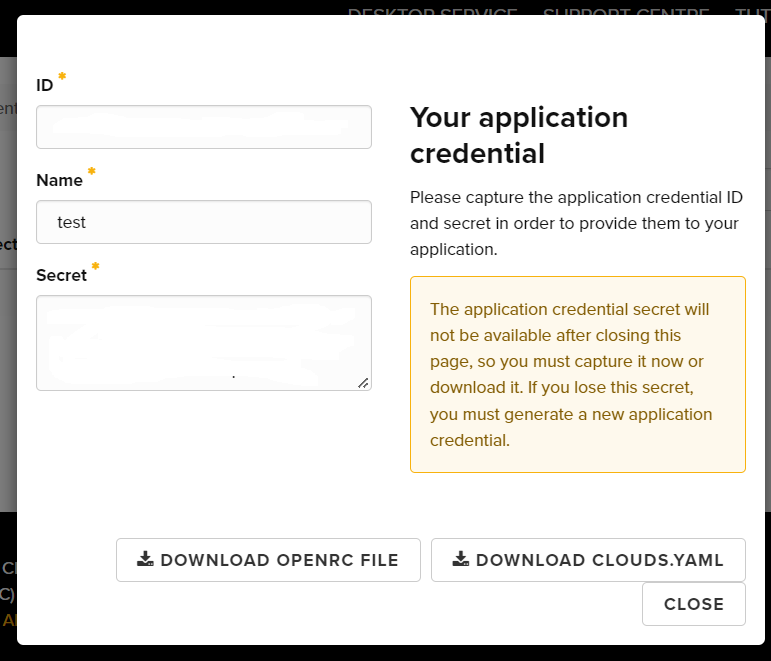
- You can use the downloaded openrc file or clouds.yaml for authentication with your client tools.